Gapping a spark plug correctly is essential for the optimal performance of your vehicle’s engine. A properly gapped spark plug ensures efficient combustion and smooth engine operation.
Here’s a decision tree to guide you through the process of gapping a spark plug:
Gapping a Spark Plug: Step By Step
Step 1: Identify the Correct Gap Specification
- Question: Do you know the manufacturer’s recommended spark plug gap for your vehicle?
- Yes: Proceed with that measurement.
- No: Consult your vehicle’s owner manual, a repair manual, or look up the specifications online based on your vehicle model and engine type.
Step 2: Select the Proper Tools
- Tools Needed:
- Spark Plug Gap Tool: This could be a wire gauge, a ramp-style gapper, or a disk-style gapper. Choose the tool that you find easiest to use or that is recommended for your type of spark plugs.
[amazon bestseller = “spark plug gap tool”]
Step 3: Remove and Inspect the Spark Plug
- Action: If replacing old spark plugs, remove one from your engine using a spark plug socket.
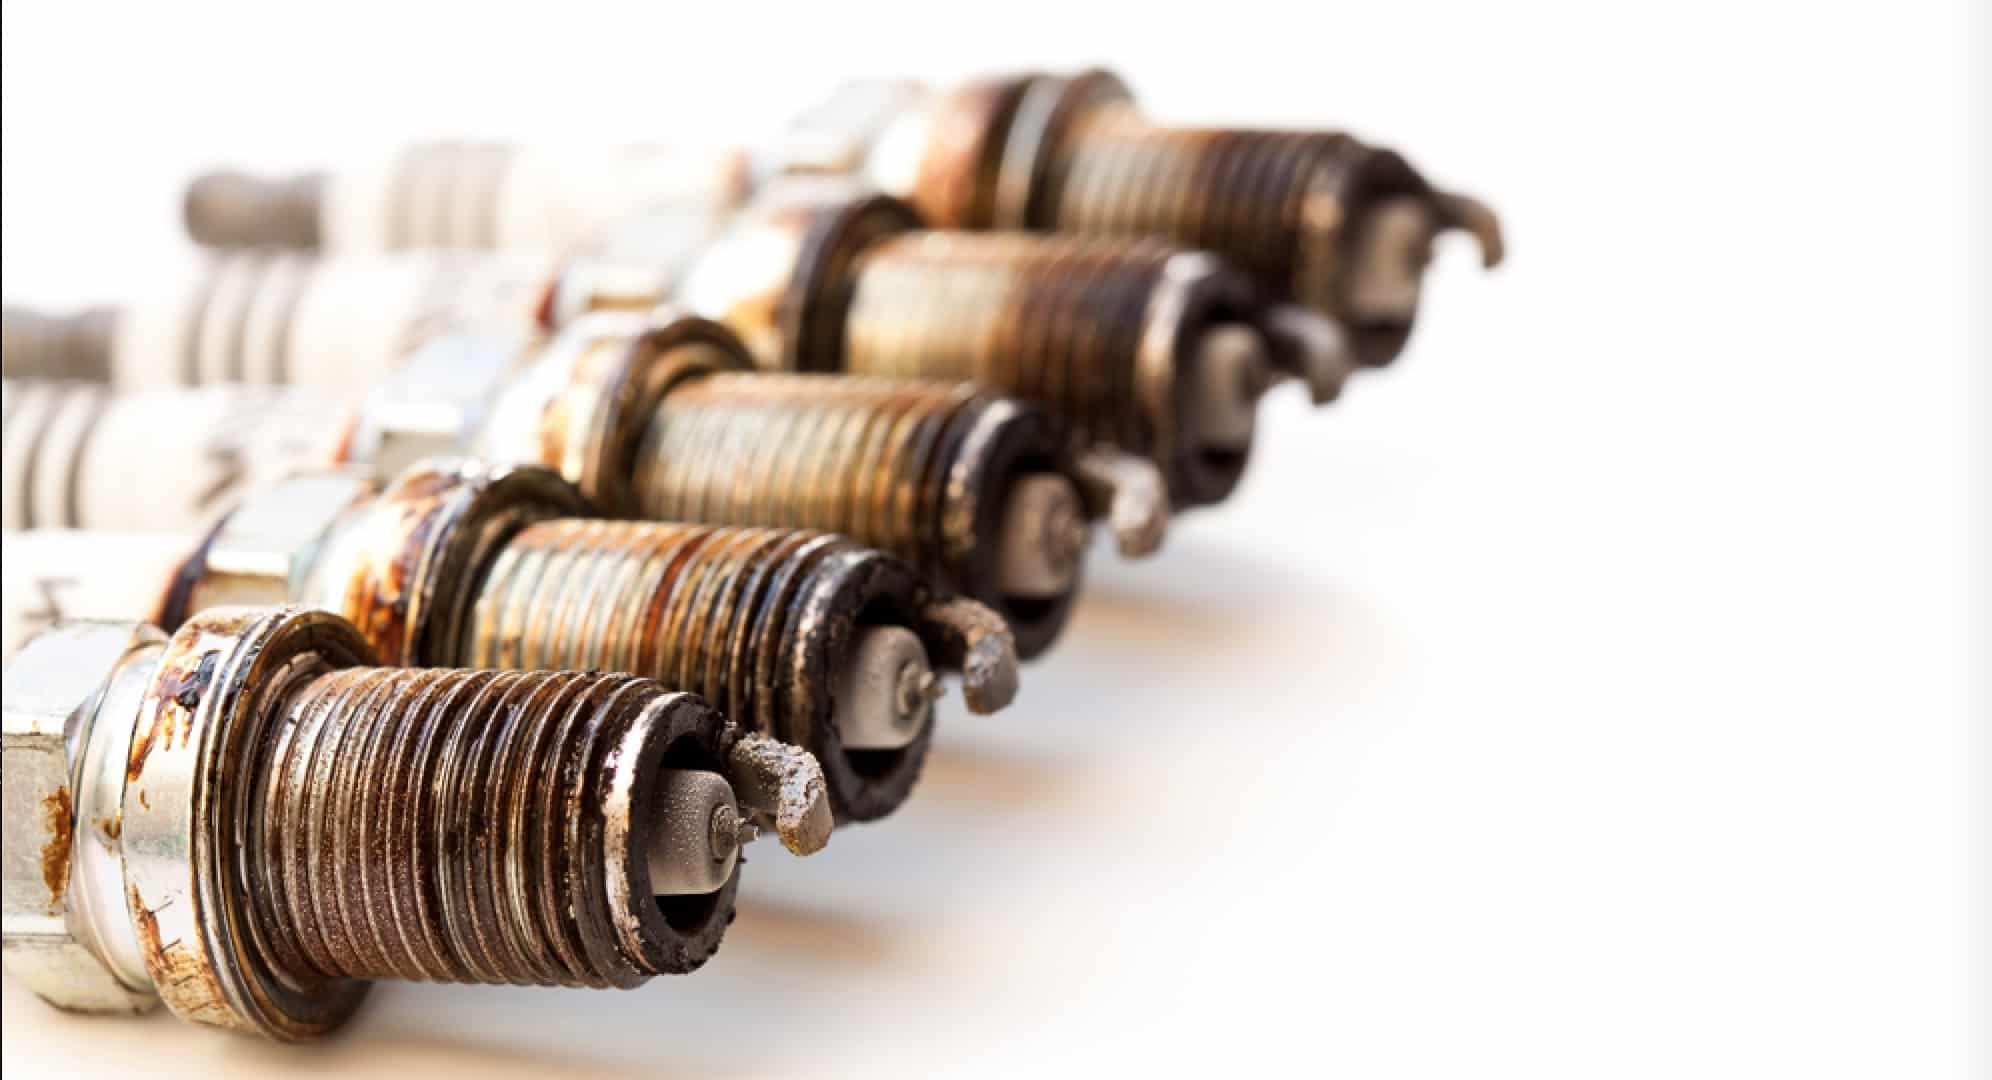
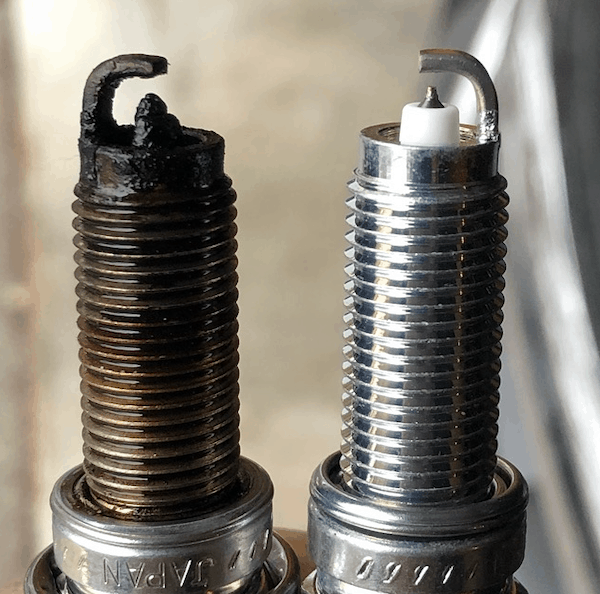
- Inspect: Check the spark plug for any signs of wear or damage (cracks, deposits, or burned electrodes). If damaged, replace it with a new one.
Step 4: Measure the Current Gap
- Action: Use your gap tool to measure the existing gap between the center electrode and the ground electrode on the spark plug.
- Check: Compare this measurement to the specification you obtained in Step 1.
Step 5: Adjust the Gap
- If Adjustment Needed:
- Too Tight (Gap is too small): Carefully bend the ground electrode away from the center electrode using the gapping tool until the desired gap is achieved.
- Too Wide (Gap is too large): Gently tap the ground electrode on a hard surface or use the gapping tool to bend it slightly towards the center electrode.
- Tip: Make small adjustments and re-measure frequently to avoid over-adjusting.
Step 6: Re-check the Gap
- Action: After adjusting, re-measure the gap to ensure it matches the manufacturer’s specification.
- Repeat: If the gap is still incorrect, adjust again carefully until the correct measurement is achieved.
Step 7: Install or Re-install the Spark Plug
- Action: Once the gap is set correctly, install the spark plug back into the engine.
- Torque: Use a torque wrench to tighten the spark plug according to the manufacturer’s specification to avoid over-tightening.
Step 8: Perform a Function Check
- Action: Start the vehicle to ensure it is running smoothly.
- Listen: Pay attention to the engine sounds for any misfires or irregularities, which might indicate improper gapping or installation.
Step 9: Regular Maintenance
- Routine Checks:
- Inspect and Gap Regularly: Spark plugs should be checked and re-gapped if necessary during regular vehicle maintenance.
- Replacement: Replace spark plugs at intervals recommended by the vehicle manufacturer.
Additional Tips
- Handling: Always handle spark plugs carefully to avoid damaging the electrodes.
- Cleaning: If re-using a spark plug, clean it thoroughly with a wire brush before gapping.
By following this decision tree, you can accurately gap spark plugs, helping to ensure your engine runs efficiently and effectively. This process not only improves vehicle performance but can also extend the life of the engine.
Spark Plugs: What They Do and Why Gap?
Spark plugs play a critical role in the functioning of your vehicle’s engine by igniting the air/fuel mixture.
Purpose of Spark Plugs
Spark plugs are vital components in your car’s engine that initiate combustion. Here’s how they work:
- When you start your car, the ignition system sends an electrical signal to each spark plug.
- This signal generates a spark across the small gap at the tip of the plug.
- The spark ignites the air and fuel mixture in the engine’s combustion chamber, causing your engine to start or continue running.
Importance of Correct Gapping
The gap between the electrodes on your spark plug is crucial for proper engine performance. The specifics:
- A gap that is too small may lead to a weak spark, which can cause poor combustion and decreased engine performance.
- Conversely, a gap that is too wide might prevent the spark from firing at all, leading to engine misfires.
- Your vehicle’s specification determines the optimal gap setting, which ensures the most efficient combustion and engine performance.
Preparing to Gap Spark Plugs
Proper preparation can distinguish between a successful maintenance task and potential complications. Spark plug gapping requires precision and caution.
Selecting the Right Tools
To ensure accurate results when gapping your spark plugs:
- Feeler Gauge: A must-have for measuring the gap.
- Spark Plug Gap Tool: Ideal for adjusting the gap size.
- Wire Brush: For cleaning any debris off the plug.
Remember, the tools should match the spark plug specifications in your vehicle’s manual.
Safety Precautions
Before you begin, prioritize your safety:
- Wear Safety Glasses: Protect your eyes from metal filings.
- Disconnect the Battery: Prevent any chance of electric shock.
- Work in a Well-Ventilated Area: Avoid inhaling metal dust.
By using the right tools and taking these safety steps, you’re ready to gap your spark plugs correctly.
Measuring Gap Size
Accurate gap measurement ensures optimal spark plug performance. Proper tools and techniques give you reliable results.
Using a Gapping Tool
- Select the correct tool: Use a wire feeler gauge or a spark plug gapper for precise measurements.
- Insert the gapper: Gently slide your chosen gapping tool into the gap between the center and ground electrode.
- Adjust as necessary: If the gap is too narrow, carefully pry open the gap slightly with the gapping tool. If too wide, press the ground electrode against a solid surface to narrow the gap.
Reading Gap Measurements
- Align the tool: Make sure the measuring scale on the gapping tool is aligned with the gap correctly.
- Read the scale: Find the measurement on the tool that fits snugly into the gap without forcing it. This number is your plug’s gap size.
- Check manufacturer specifications: Always compare your measurement to the vehicle manufacturer’s recommended gap to ensure accuracy.
- Note:
- Use a table for quick reference if provided by the tool manufacturer.
- Tip: Perform this process in a well-lit area to improve visibility and accuracy of the reading.
Adjusting the Gap
Proper gap adjustment is crucial for engine performance and fuel efficiency. You’ll need a few simple tools and a delicate touch to adjust the gap accurately.
Techniques for Widening the Gap
- Use a gap tool: Select the correct wire or blade on your gap tool that matches your required gap size.
- Apply gentle pressure: Hook the tool on the spark plug electrode and carefully pull outward.
- Avoid over-widening: Apply pressure incrementally to avoid expanding the gap too much.
Techniques for Narrowing the Gap
- Tap the plug: Gently tap the spark plug, electrode side down, on a hard surface.
- Check frequently: After each tap, use your gap gauge to measure the gap.
- Go slow: Make small adjustments to avoid closing the gap too tightly.
Inspecting and Reinstalling
Proper gap measurement and careful installation are crucial steps for ensuring your spark plugs function optimally.
Checking Gap Consistency
- Measure the Gap: Use a gap gauge tool to check the spark plug gap. Slide the gauge between the electrodes and read the measurement.
- Compare with Specifications: Match your reading with the vehicle manufacturer’s recommended spark plug gap.
- Adjust if Necessary: If the gap isn’t correct, adjust it by gently bending the ground electrode. Re-measure to confirm accuracy.
Spark Plug Reinstallation Tips
- Thread by Hand: Start threading each spark plug by hand to prevent cross-threading.
- Torque to Specification: Use a torque wrench to tighten the spark plugs to the manufacturer’s recommended torque setting.
- Reattach Ignition Wires or Coils: Ensure you securely reconnect any electrical components you disconnected during removal.
- Check Connections: After installation, double-check all connections for firmness to avoid issues with engine misfires.