Are you thinking about changing your own oil? It’s a great way to save money and TIME.
A DIY oil change takes about 10 minutes from draining the oil, swapping the filter, and pouring the new oil in.
| Question | How Long Does An Oil Change Take? |
|---|---|
| Answer (DIY) | Approximately 10 Minutes to 1 Hour (You’ll get faster as you gain experience) |
| More Info (DIY) | The time it takes to change your oil yourself can vary based on your experience, tools, and the specific requirements of your vehicle. Preparing the area, gathering tools, draining the oil, replacing the filter, and adding new oil are the main steps. Safety precautions are important to follow throughout the process. |
| Answer (Shop) | About 15 Minutes to 45 Minutes. (Most of that time is waiting) |
| More Info (Shop) | When done at a professional service shop, an oil change can take anywhere from 15 to 45 minutes. The variance largely depends on the service center’s workload, the complexity of your vehicle’s oil change requirements, and whether any additional inspections or services are performed simultaneously. Booking an appointment can sometimes reduce waiting time. |
Changing Your Oil at Home
[amazon bestseller= “Oil Change Kit”]
Changing your oil is a fundamental maintenance task that can save you money and extend your engine’s lifespan.
Here’s a step-by-step guide on how to change your oil at home. Before you start, make sure you have the right tools and materials: a wrench set, an oil filter wrench, a drain pan, new oil, a new oil filter, and gloves. Check your vehicle’s manual for the specific type and amount of oil required.
- Warm Up Your Engine: Run your car for a few minutes to warm up the oil, which helps it drain out more smoothly. Don’t make it too hot; just lukewarm.
- Prepare Your Workspace: Park your car on a level surface, turn it off, and apply the parking brake. Place wheel chocks around the tires for extra safety if you have them.
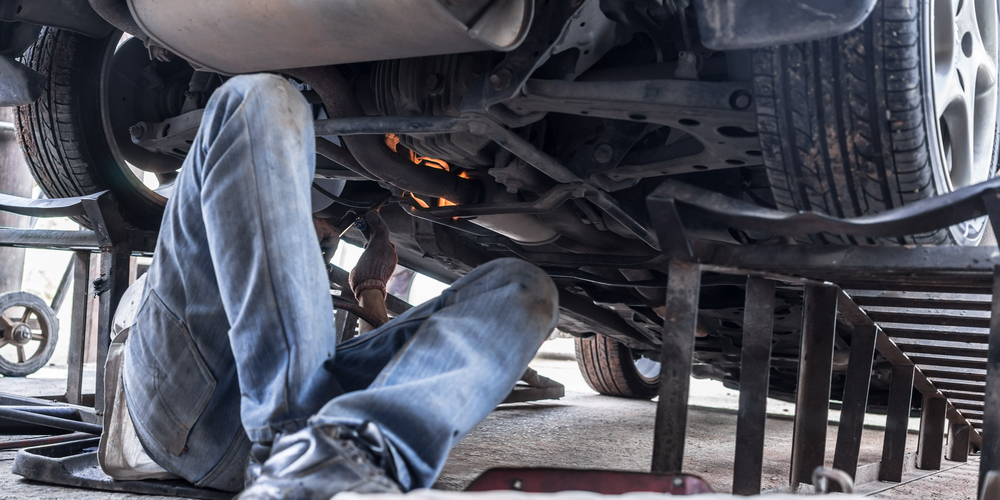
- Locate the Oil Drain Plug and Oil Filter: Get under your car and find the oil drain plug on the bottom of your engine’s oil pan. Locate the oil filter as well.
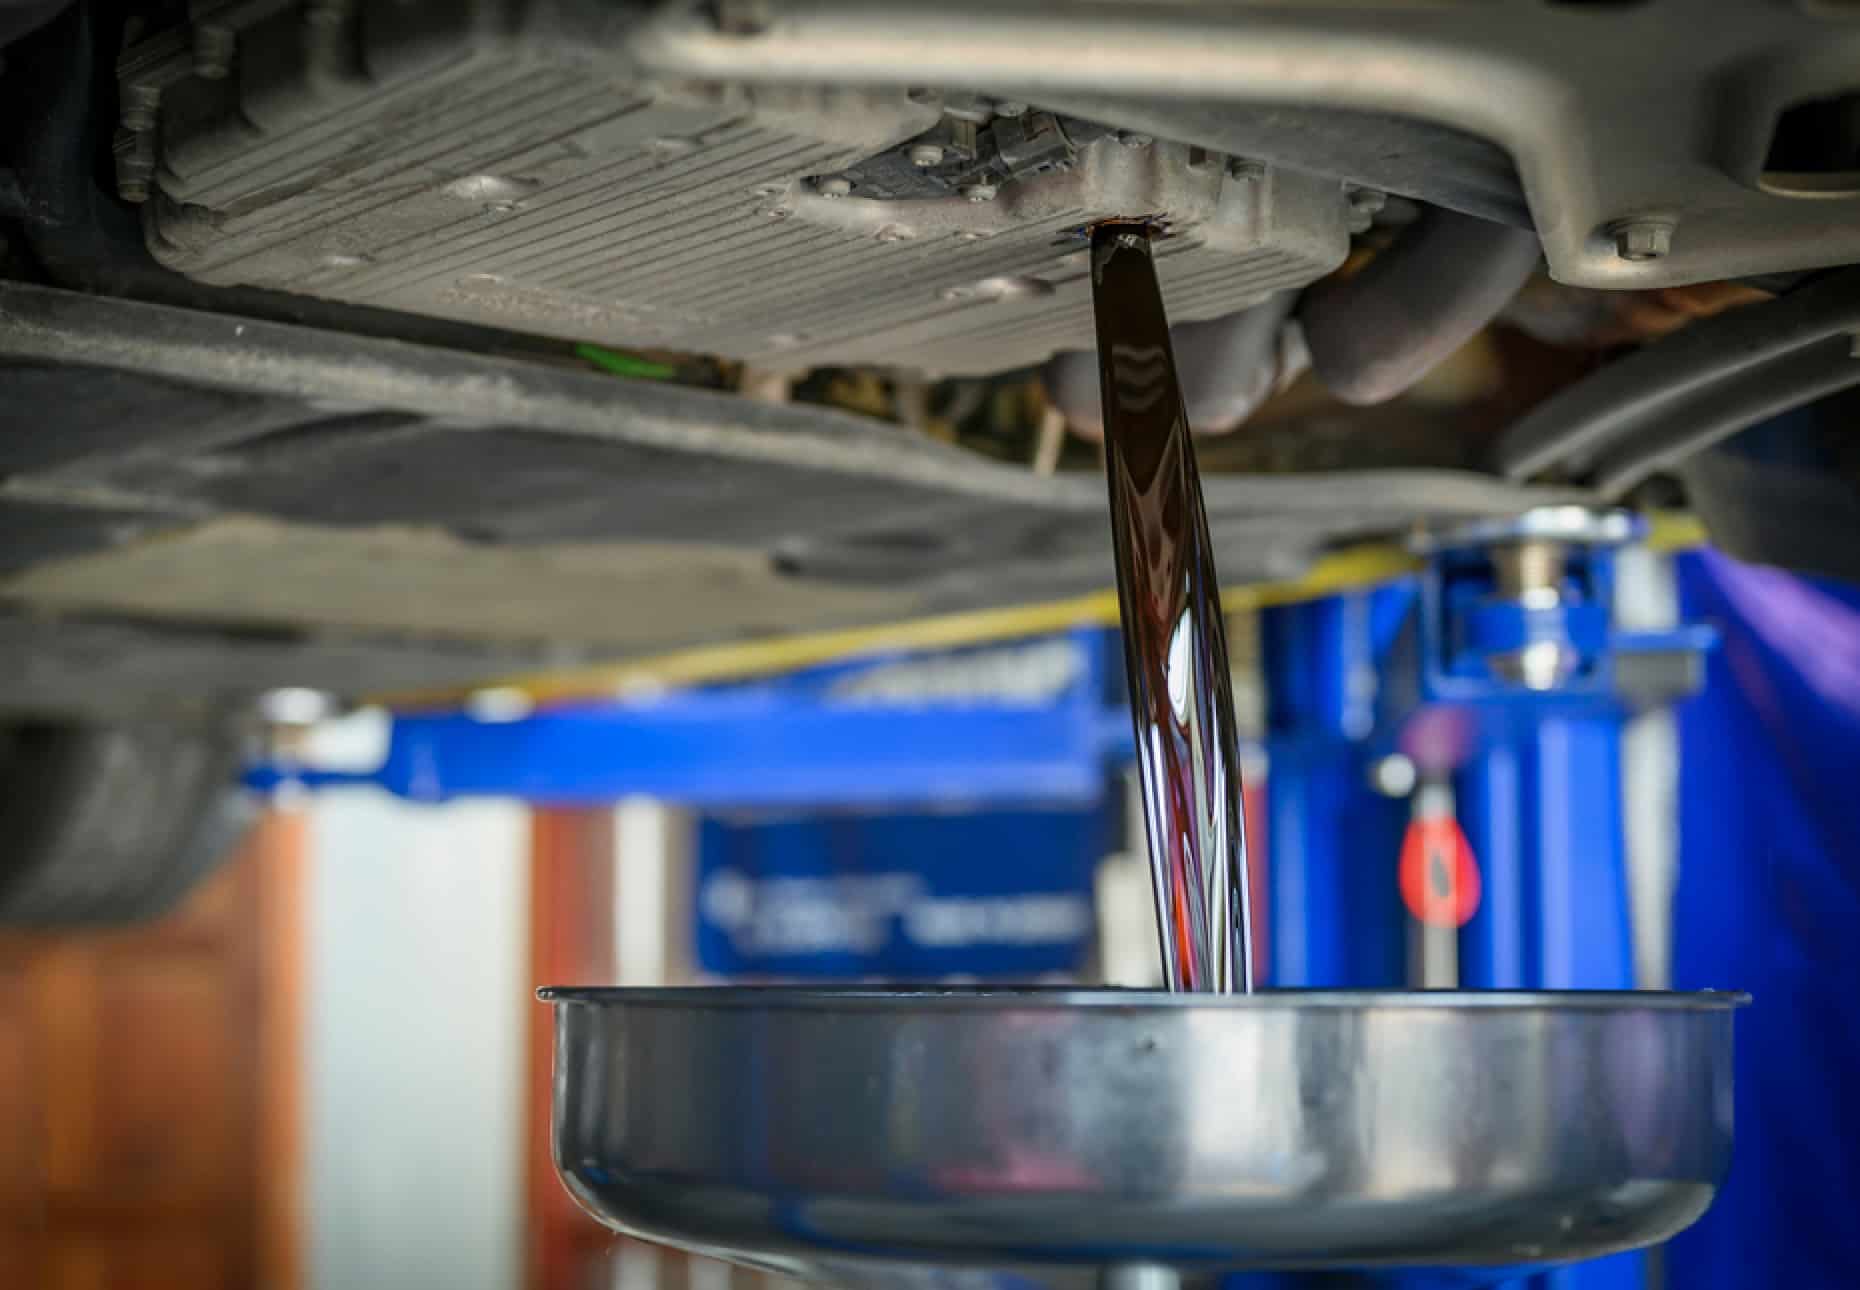
- Drain the Old Oil:
- Place the drain pan under the oil drain plug.
- Use a wrench to loosen the plug, then remove it by hand, allowing the oil to drain into the pan. Be careful; the oil may still be warm.
- Wait until the oil flow slows to a drip.
- Replace the Oil Filter:
- While the oil is draining, remove the old oil filter using the oil filter wrench. Some oil will likely spill out, so keep your drain pan underneath.
- Before installing the new filter, apply a little fresh oil to the rubber seal on the top of the filter. This helps ensure a good seal.
- Screw on the new filter by hand. Don’t overtighten.
- Reinstall the Drain Plug: Once all the old oil has drained, replace the drain plug by hand and tighten it with the wrench. Do not overtighten, as this can strip the threads.
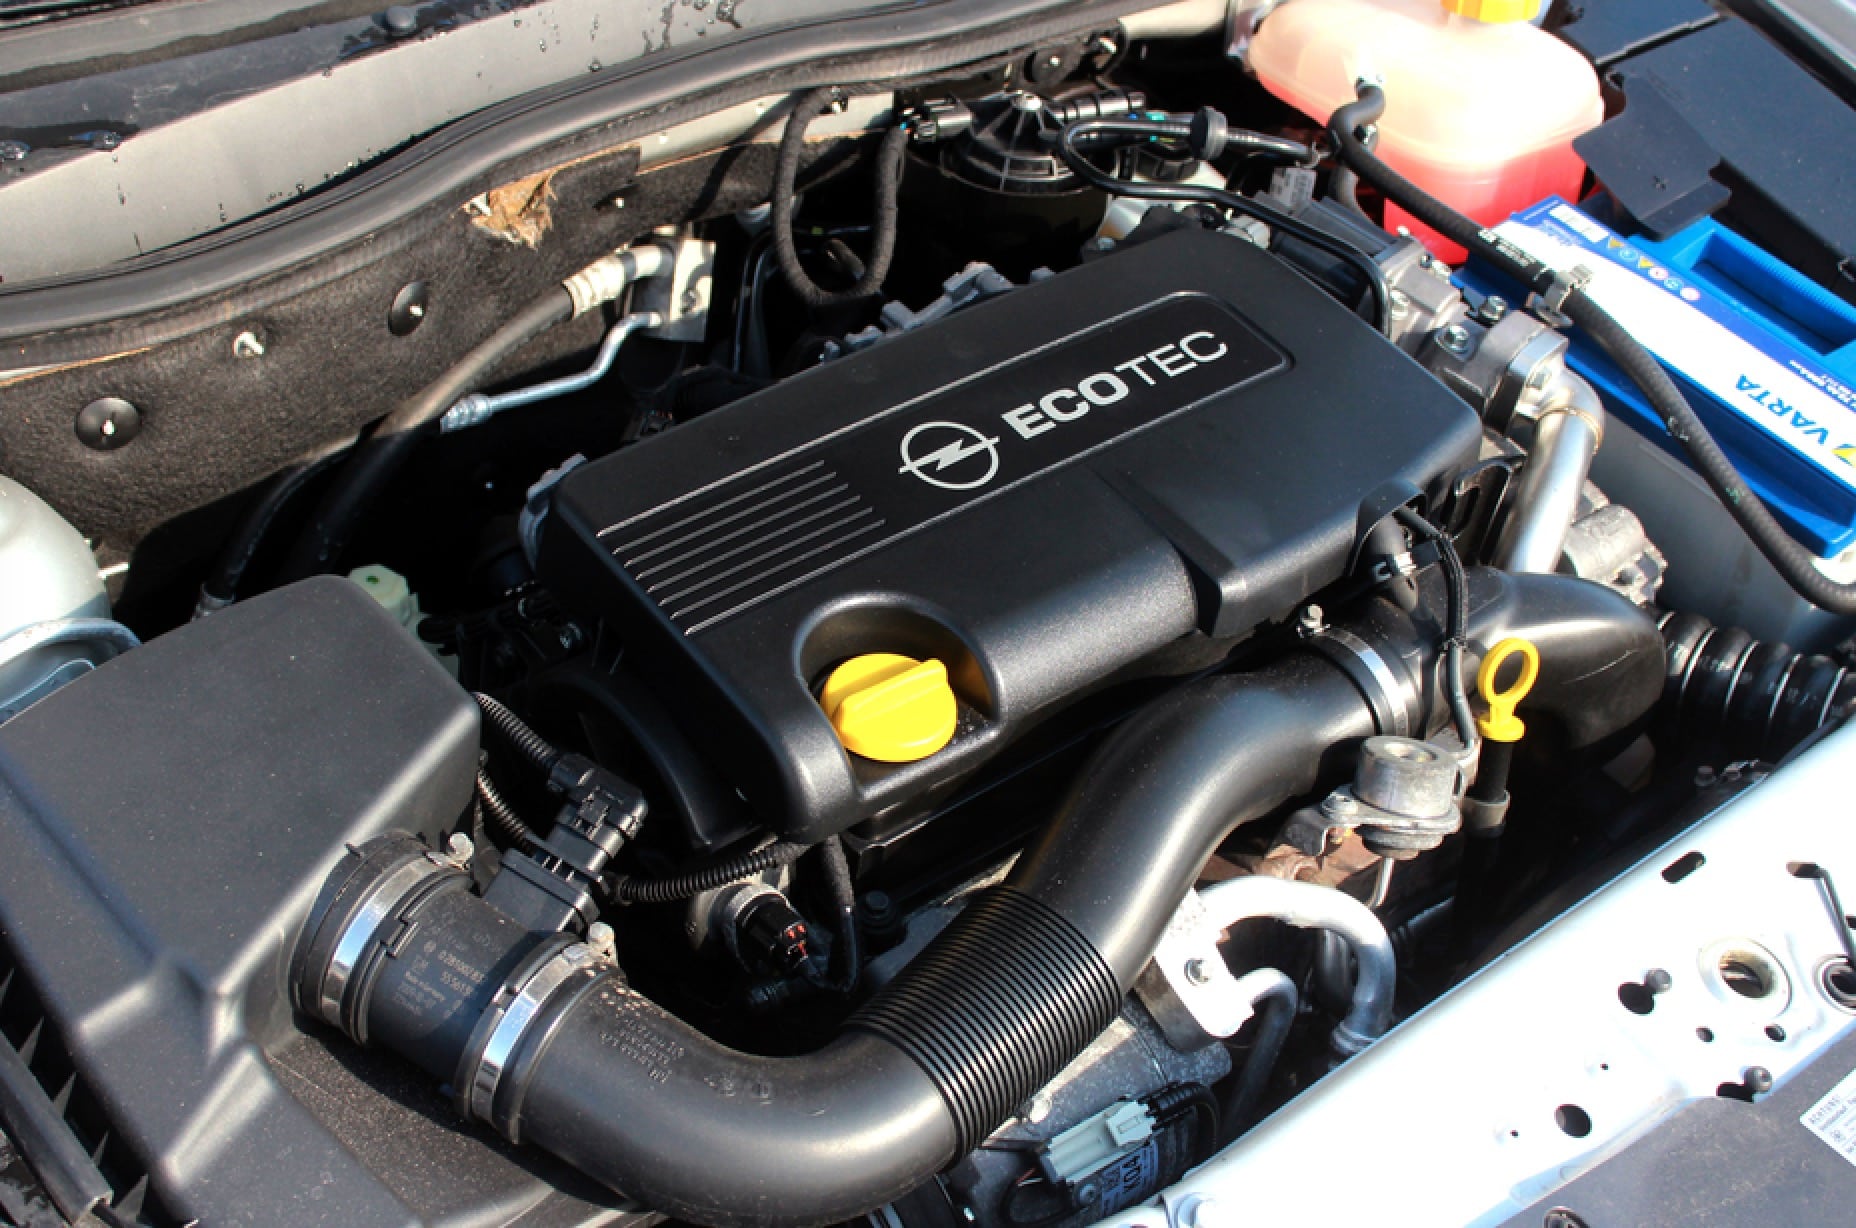
- Add New Oil:
- Open the hood and locate the oil filler cap on top of your engine. Remove the cap.
- Using a funnel, pour the new oil into the engine. Check your owner’s manual for the correct amount.
- Replace the oil filler cap.
- Check the Oil Level: Start your engine and let it run for a minute to circulate the new oil. Turn off the engine, wait a few minutes, then check the oil level with the dipstick. Pull out the dipstick, wipe it clean, insert it back in, and pull it out again to check the level. Add more oil if necessary.
- Clean Up and Recycle: Carefully dispose of the old oil and oil filter properly. Many auto parts stores and recycling centers accept used oil and filters.
- Record Your Maintenance: Note the date and mileage of your oil change as a record for future maintenance.
Changing your oil regularly is crucial for keeping your engine running smoothly. Always refer to your vehicle’s manual for specific recommendations and procedures tailored to your car.
DIY Vs Paying a Technician to Change Your Oil
DIY Oil Change
Pros:
- Cost Savings: The primary advantage of changing your oil is the potential cost savings. You only pay for the oil and filter, not the labor.
- Learning Experience: Performing your own oil changes is a great way to learn more about your vehicle and gain confidence in your mechanical abilities.
- Control Over Materials: You can choose the exact type and brand of oil and filter you prefer, ensuring you use quality components.
Cons:
- Time and Effort: It requires time and physical effort. If you’re pressed for time or prefer not to get your hands dirty, DIY might not be for you.
- Tools and Space: You need the right tools and a suitable space to work. Not everyone has access to a garage, ramps, or jack stands.
- Disposal of Used Oil: Proper disposal of the used oil and filter is your responsibility. You’ll need to find a local facility that accepts these materials.
Paying a Technician
Pros:
- Convenience: The biggest advantage is convenience. You can usually have the oil changed quickly while you wait or leave your car and pick it up later.
- Professional Expertise: Technicians have the experience and knowledge to spot potential issues that you might not notice. They can alert you to any concerns.
- No Need for Tools or Clean-Up: You don’t need to own any special tools, nor do you have to deal with the used oil and filter afterward.
Cons:
- Cost: The main drawback is the cost. Labor charges significantly increase the price of an oil change.
- Quality of Materials: Some service centers may use generic or lower-quality oil and filters unless you specify (and sometimes pay extra for) a particular brand.
- Upselling: There’s a chance the service center might recommend additional, potentially unnecessary services.
Conclusion
Choosing between a DIY or professional oil change often comes down to a balance between cost and convenience.
If you’re mechanically inclined, have the necessary tools, and enjoy working on your car, a DIY oil change can be rewarding and economical.
However, if you value your time, prefer professional expertise, or lack the space and tools, paying a technician is a convenient and efficient option. Both approaches have their place, depending on your personal preferences, lifestyle, and vehicle needs.