
Owning a car means being ready when things go sideways.
Mastering a handful of simple fixes can save you time, money, and a ton of stress on the road.
Here are 15 essential DIY skills that you really ought to know.
1. Check and Fill Your Engine Oil
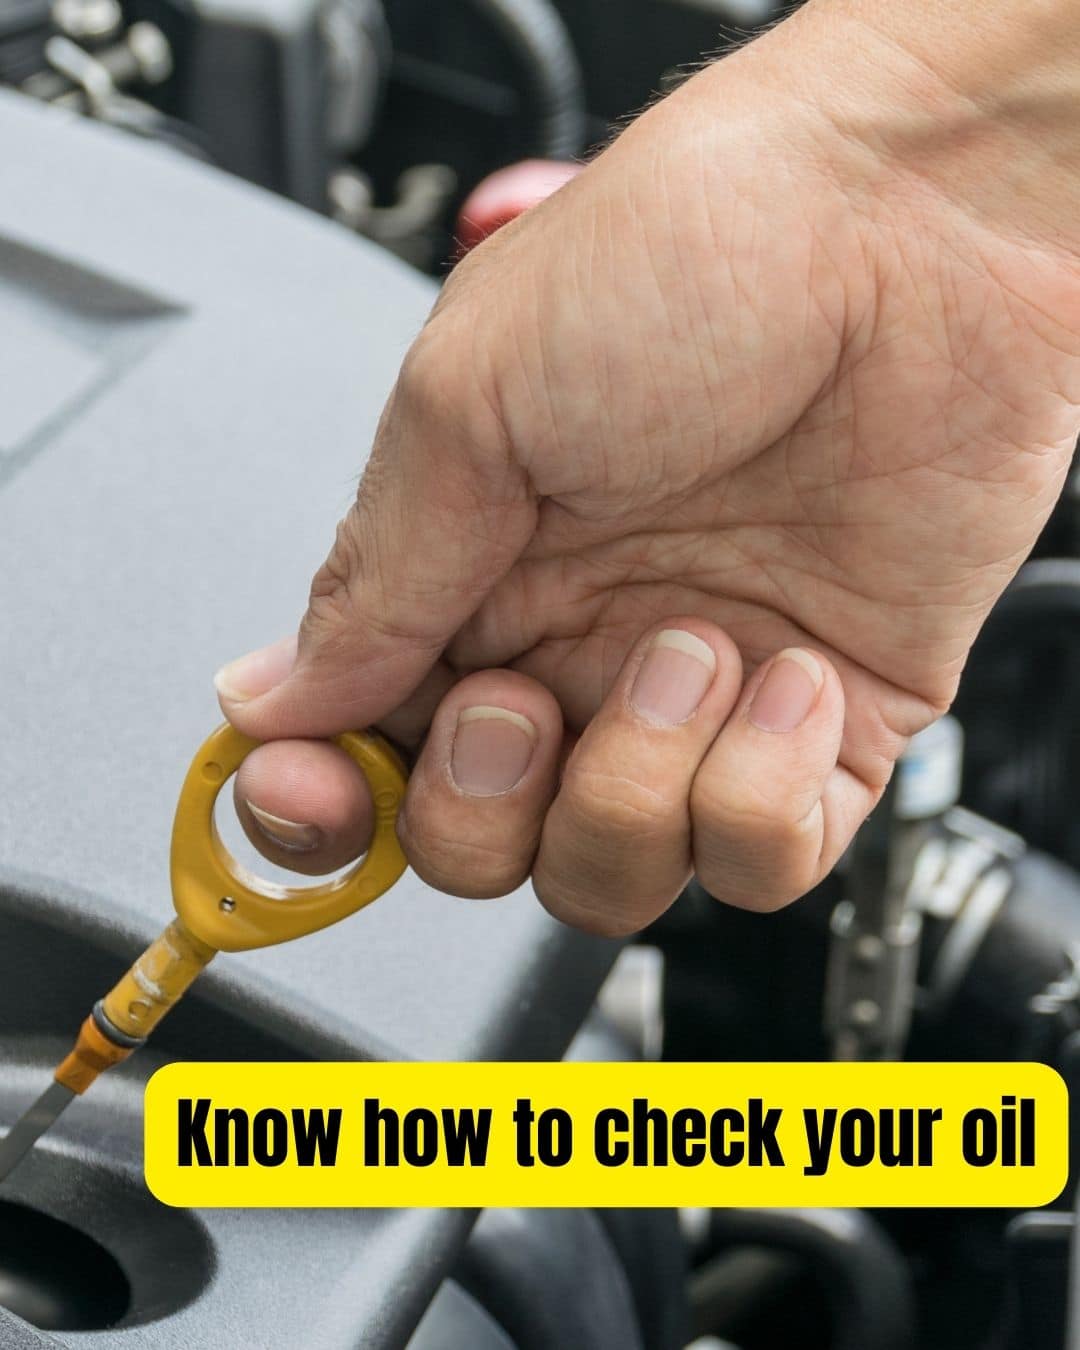
Knowing how to check oil levels and top off with the right grade keeps your engine protected.
And since replacing your engine is the most expensive automotive repair item possible, it tops our list.
There’s nothing to it:
Grab the dipstick, wipe it clean, reinsert it, then read the second mark. If it’s low, add oil slowly– avoiding overfill- and recheck.
Make sure it’s the right oil (it should say on the fill cap).
Grab a funnel, too. If money is tight, cut the top off a quart oil bottle and BOOM, instant funnel.
Do this every month or before any long trip to prevent costly wear or having your engine lock up in the Aldi’s parking lot (happened to my sister in law).
2. Monitor Coolant Levels
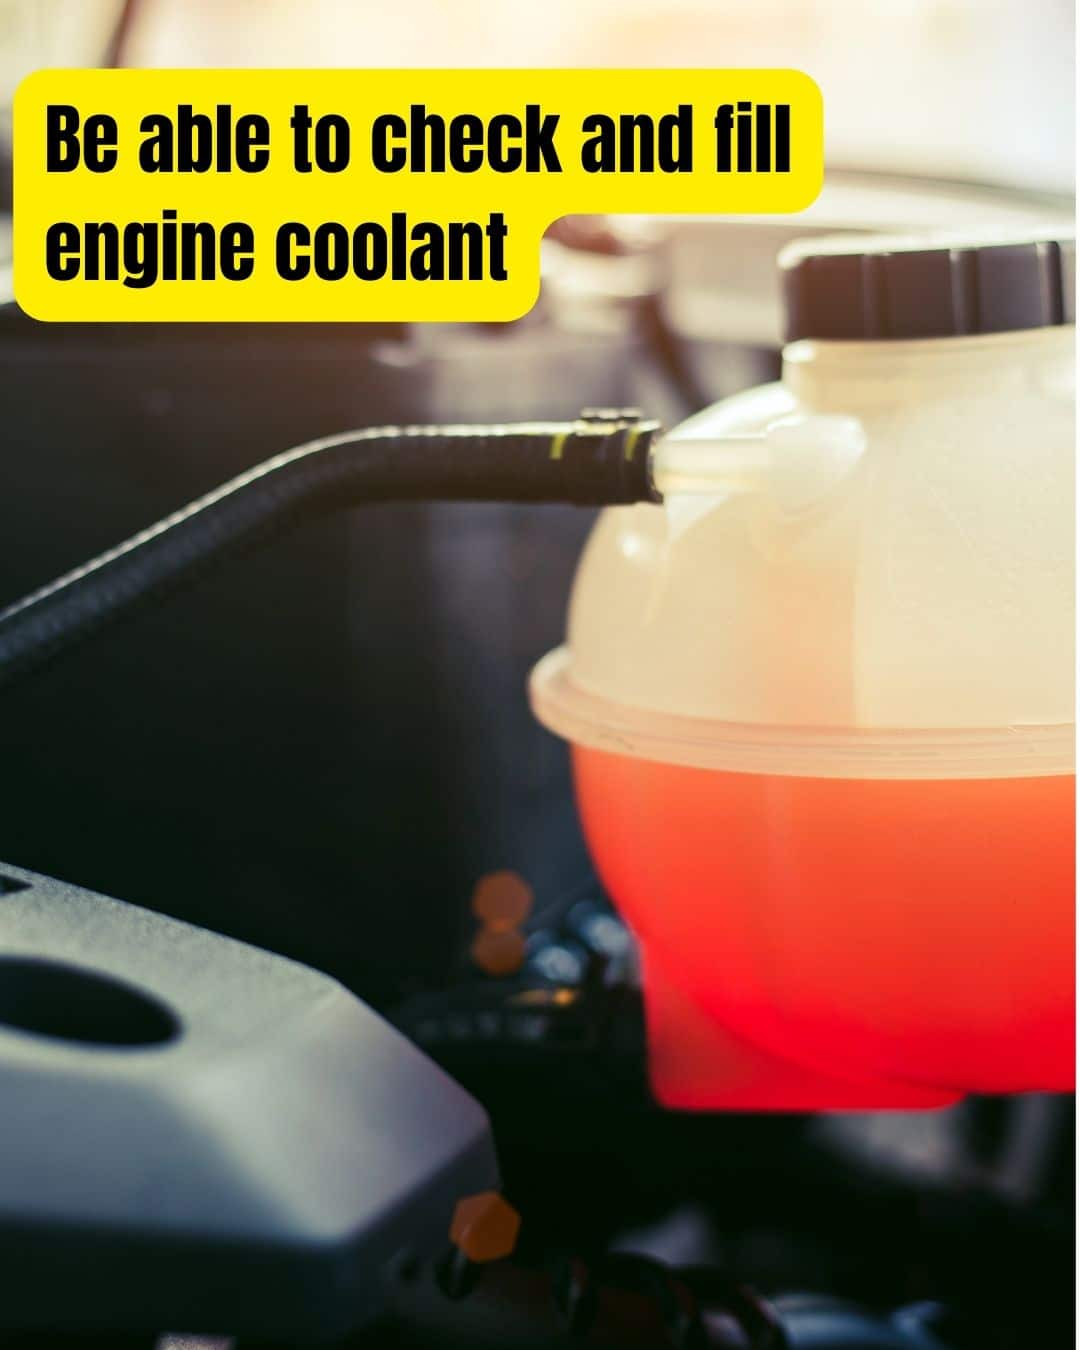
Your engine’s coolant prevents overheating and corrosion. A car can go YEARS without needing any coolant whatsoever.
But when it does, you’ll be on top of it if you glance at the overflow when checking or changing the oil.
Here’s how:
With the car cold, open the radiator cap or expansion tank and check the level against the “full” mark.
Top off with the proper coolant mix if needed.
An empty overflow container usually means there’s an issue with the cooling system. Modern cars don’t “USE” coolant as they drive.
Low coolant can lead to overheating, warped heads, or blown gaskets-so this quick check is a real money-saver.
3. Use an OBD2 Scanner
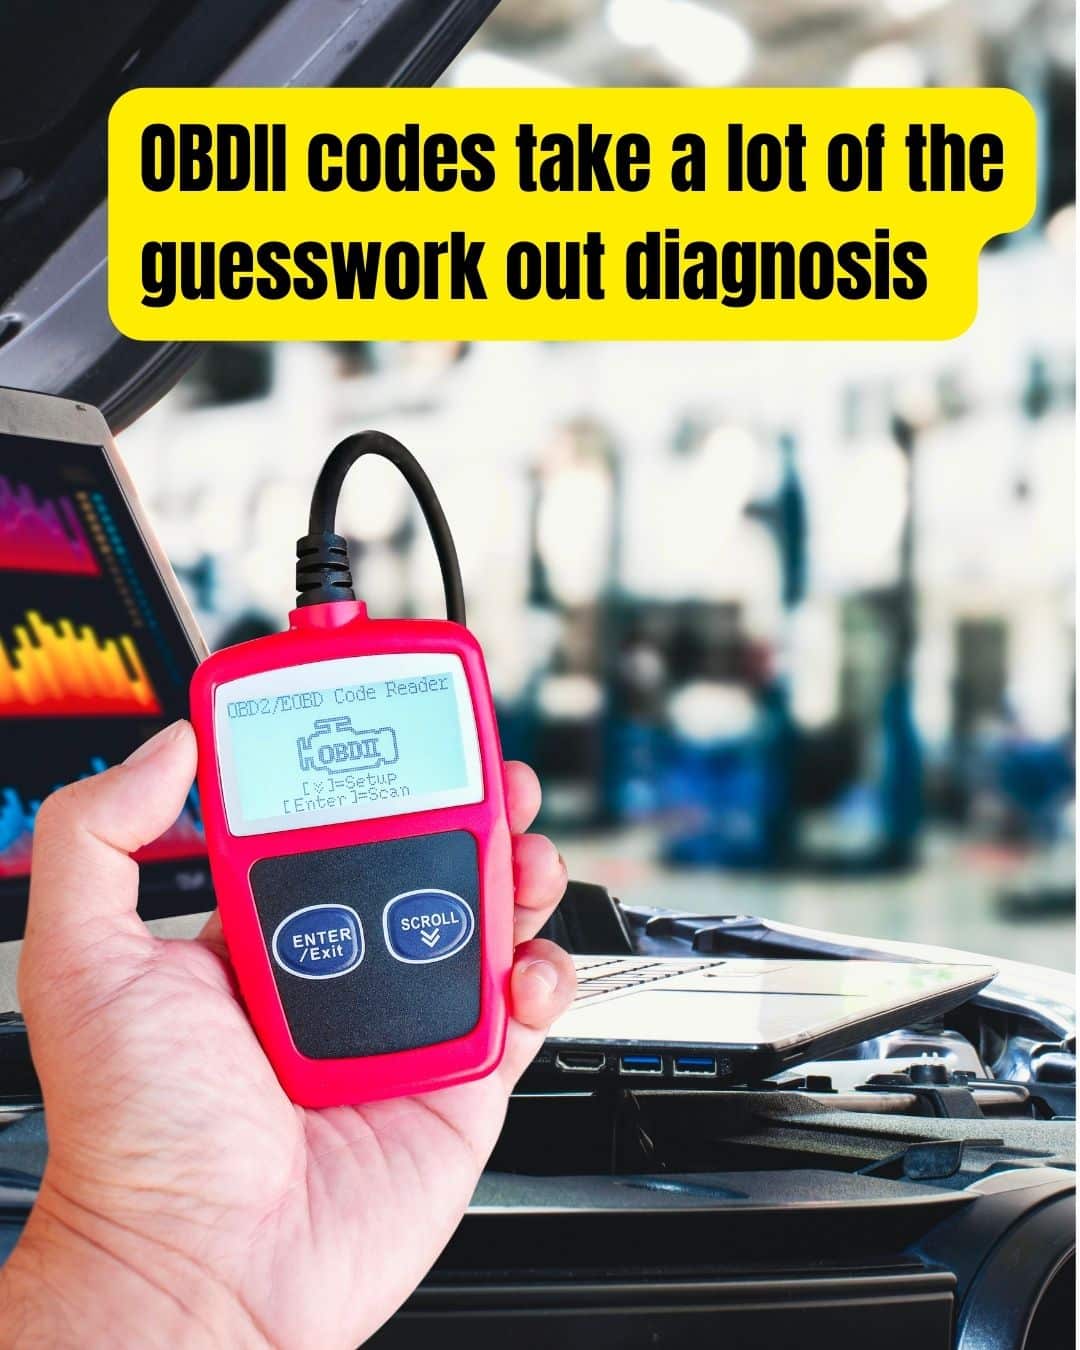
Ever wish you could read someone’s mind? Well, you can read your car’s.
An OBD2 scanner plugs into the port under your dash to read engine codes.
Rather than guessing, you’ll know exactly what’s wrong with your engine when the check engine light comes on.
Clearing codes after a fix resets your check‑engine light, so you won’t be chasing ghosts.
Investing $30-$50 in a basic scanner keeps you informed and avoids unnecessary repair bills.
4. Inspect Belts and Hoses
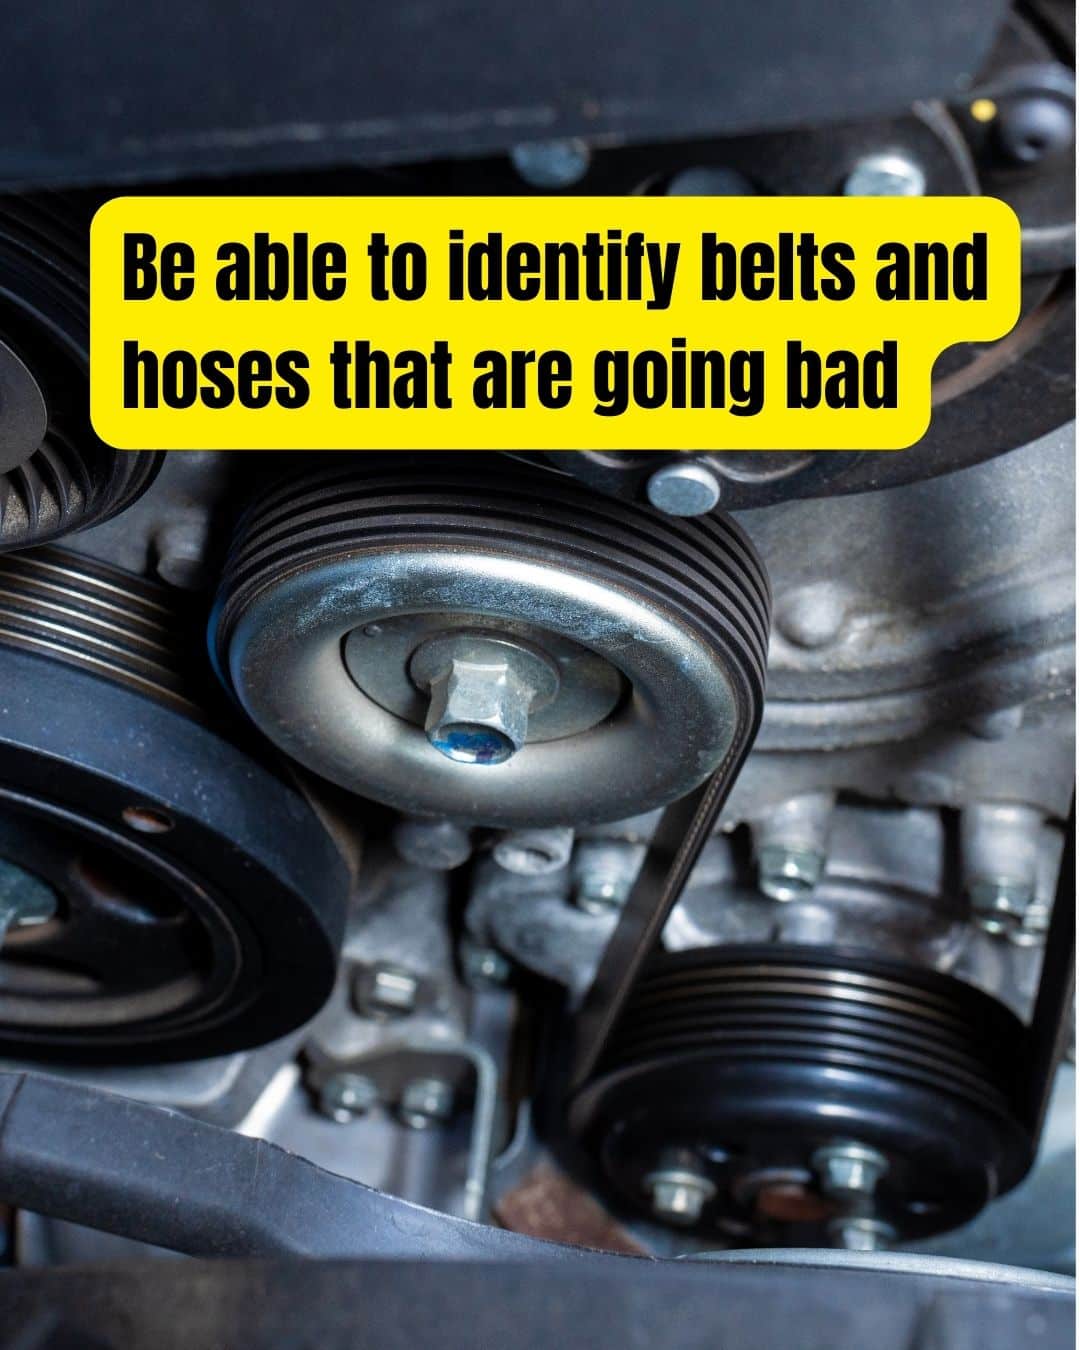
A modern vehicle uses a serpentine belt to turn the A/C compressor, water pump, and power steering pump.
A snapped belt or split hose can strand you fast.
The good news is, there’s not too much to identifying a bad belt or hose
Pop the hood and look for cracks, fraying, or bulges in your serpentine belt and radiator hoses.
A serpentine belt that’s going bad will often squeak on a rainy day before the engine warms up.
Squeeze hoses-firm but not rock hard-and replace any that feel brittle.
A quick visual inspection every few months (do it when changing your oil) helps you catch wear before it leaves you stuck on the side of the road.
5. Rotate Tires
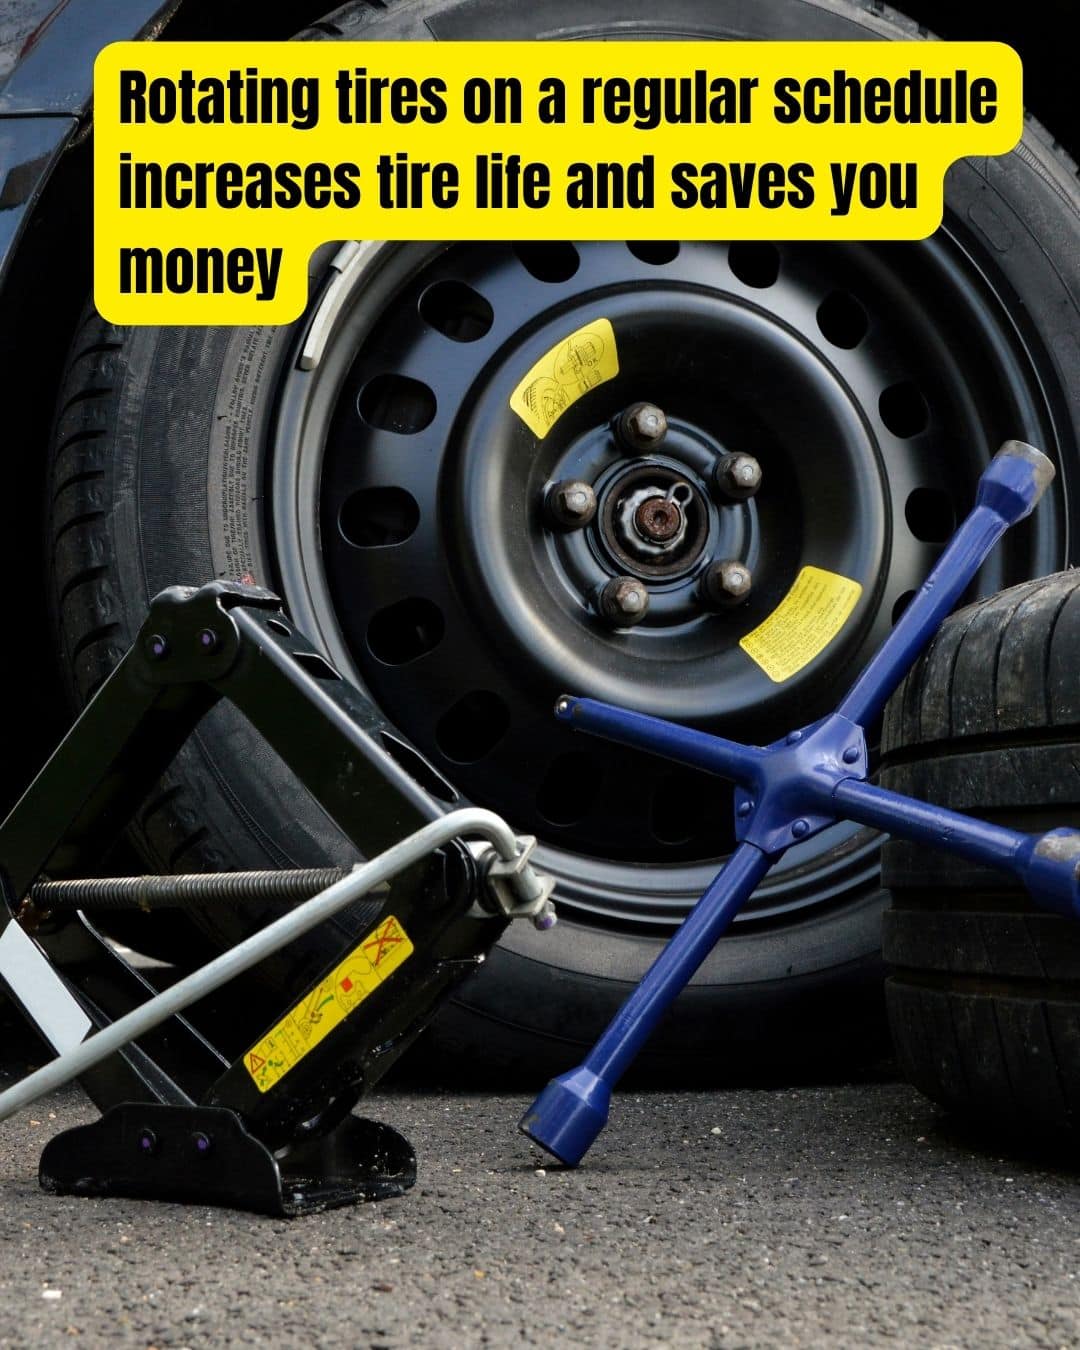
Rotating tires every 5,000-7,000 miles promotes even wear and extends tire life.
Here’s how:
Swap front to back in an X pattern (left front to right rear, etc.) on most cars.
Keep lug nuts snug, then torque them properly after a short drive.
Even if you just follow your oil-change schedule, throwing in a rotation can save you hundreds on new tires.
The little jack that came with your car is NOT ENOUGH for this task. Use a floor jack and jack stands to keep your car from dropping.
6. Replace Windshield Wipers
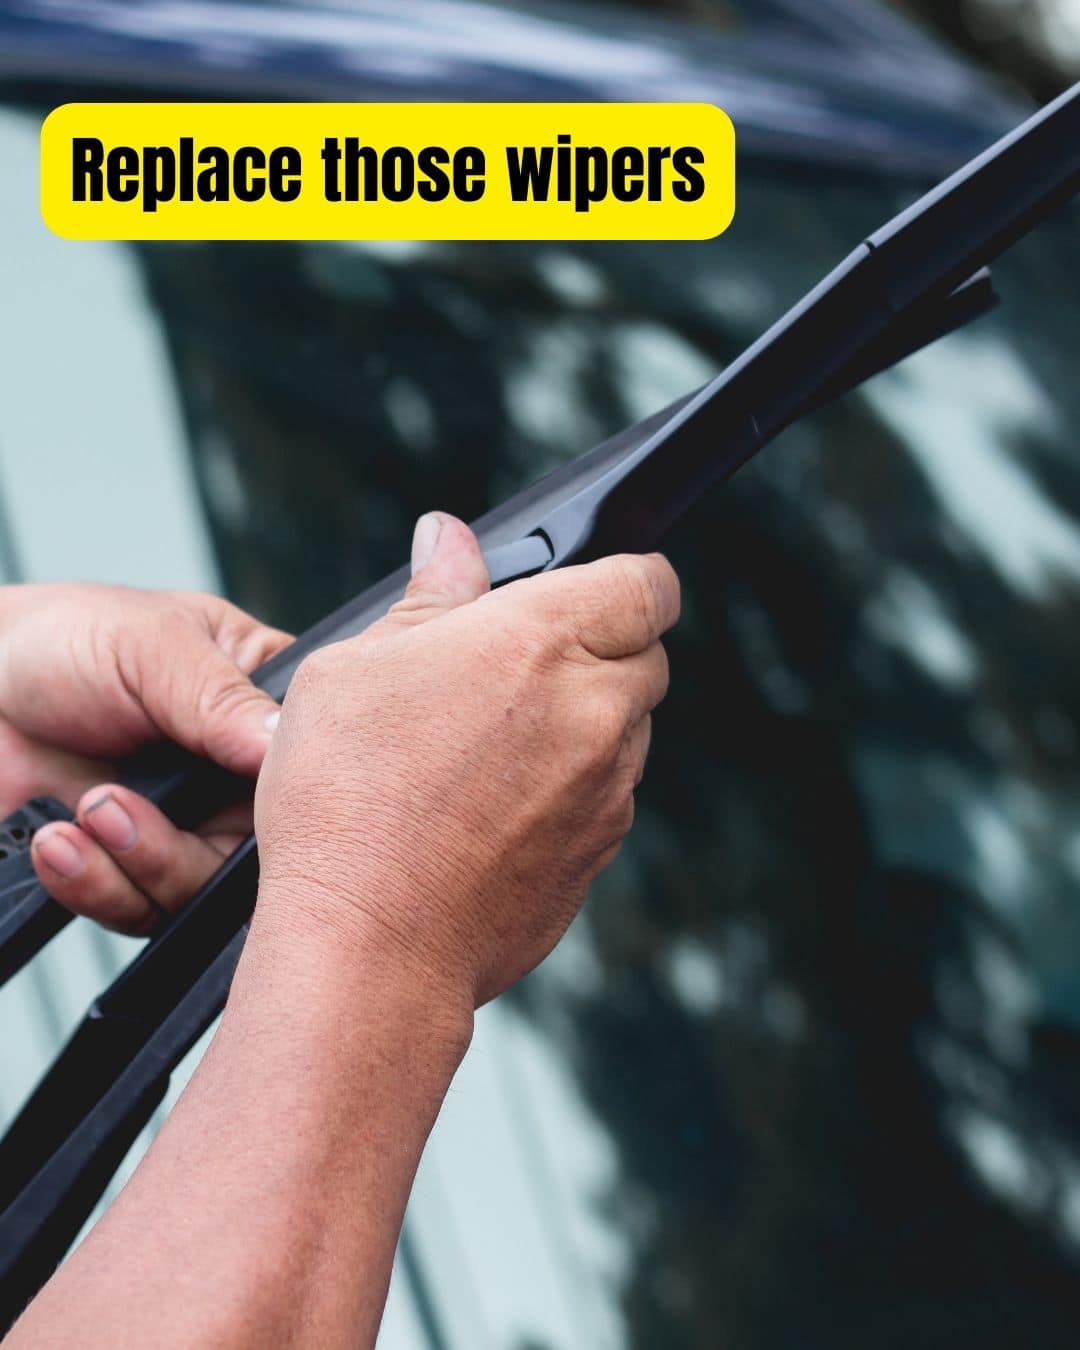
Clear vision in rain or snow is non‑negotiable. It’s a shame more folks don’t know how to do this one, because it is EASY.
Here’s how:
Pop your wiper arms away from the glass, slide old blades off, then click new ones in place.
Check for streak‑free contact before you drive.
New wipers cost under $20 each and take two minutes to install-way cheaper than a fender‑bender in a downpour.
Wipers are the most overlooked maintenance item on a vehicle.
7. Change Brake Pads (Not as Hard as You’d Think)
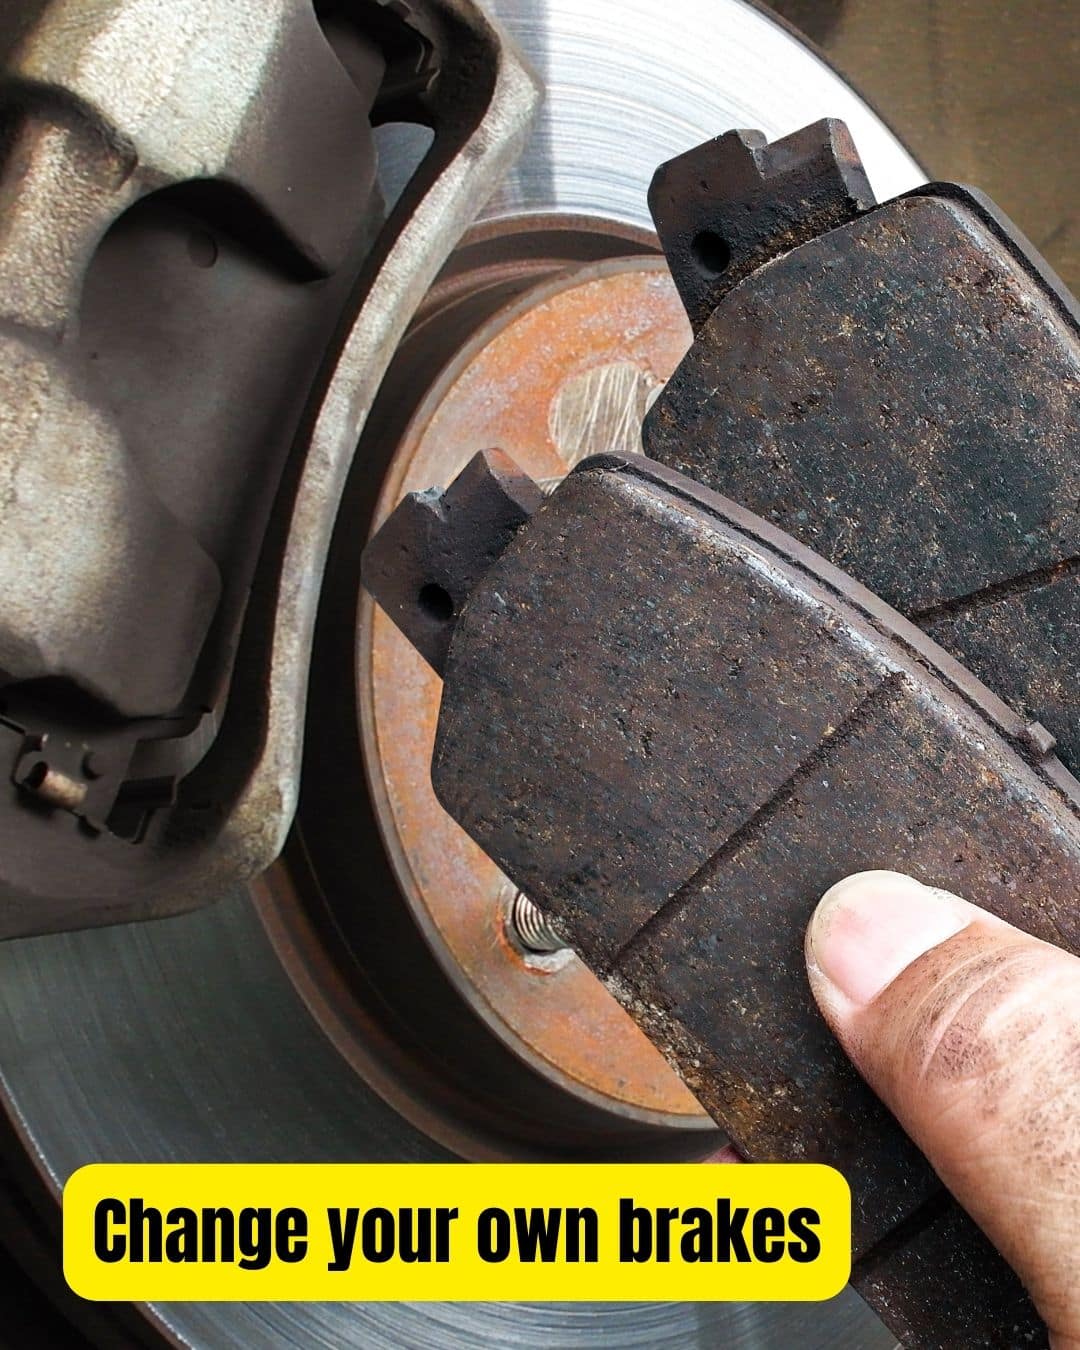
Squealing or a soft pedal? Time to swap out brake pads.
Here’s how:
Lift the wheel, retract the caliper piston with a C‑clamp, slide out old pads, and insert new ones.
Grease the contact points and torque bolts to spec.
OK. Maybe that’s an oversimplification. But you can look up pretty much any make and model on YouTube.
Again, you’re going to want a floor jack before tackling brakes.
Tip: If it’s your first time, don’t do both sides at once. You can use the other side of the vehicle as a reference.
8. Know How to Jump a Car
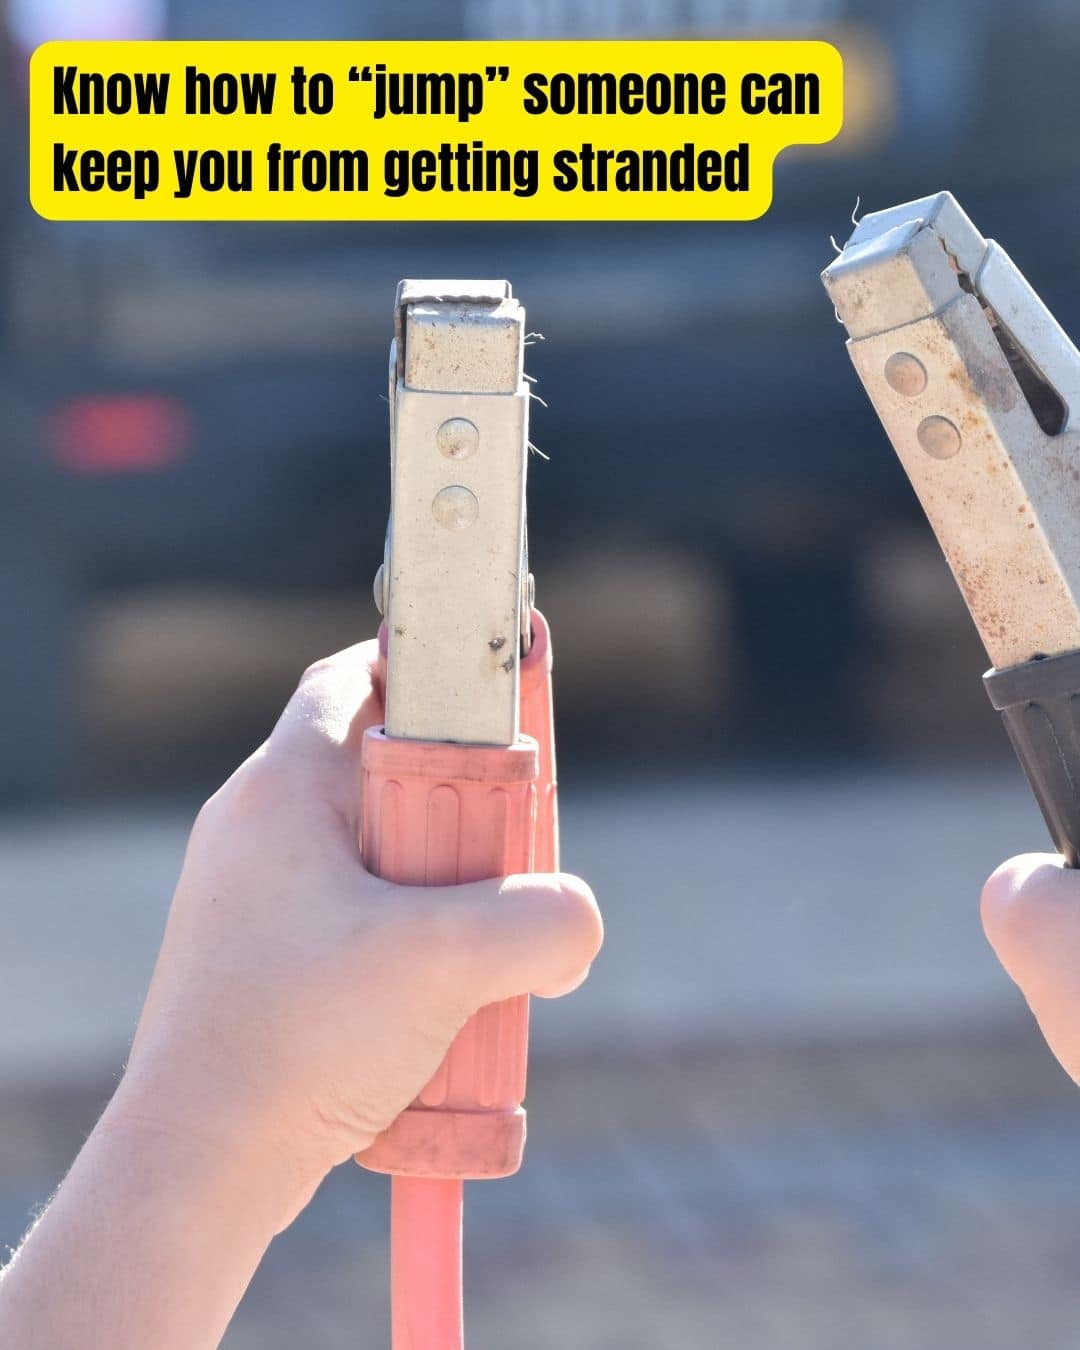
Keeping jumper cables in your vehicle is a no-brainer. If you get stuck, they can save your rear. Or, you could get the chance to be someone’s hero!
Jumping a vehicle is easy. Here’s how:
Connect red to the dead car’s positive terminals, attach the second red to the booster pack or donor battery, then connect black to a clean ground on the dead car’s engine block.
Just remember. Reds first, then blacks.
Start with the giver, then the receiver. Removing the negative cables first avoids sparks, and you’re back on the road.
9. Change a Headlight Bulb
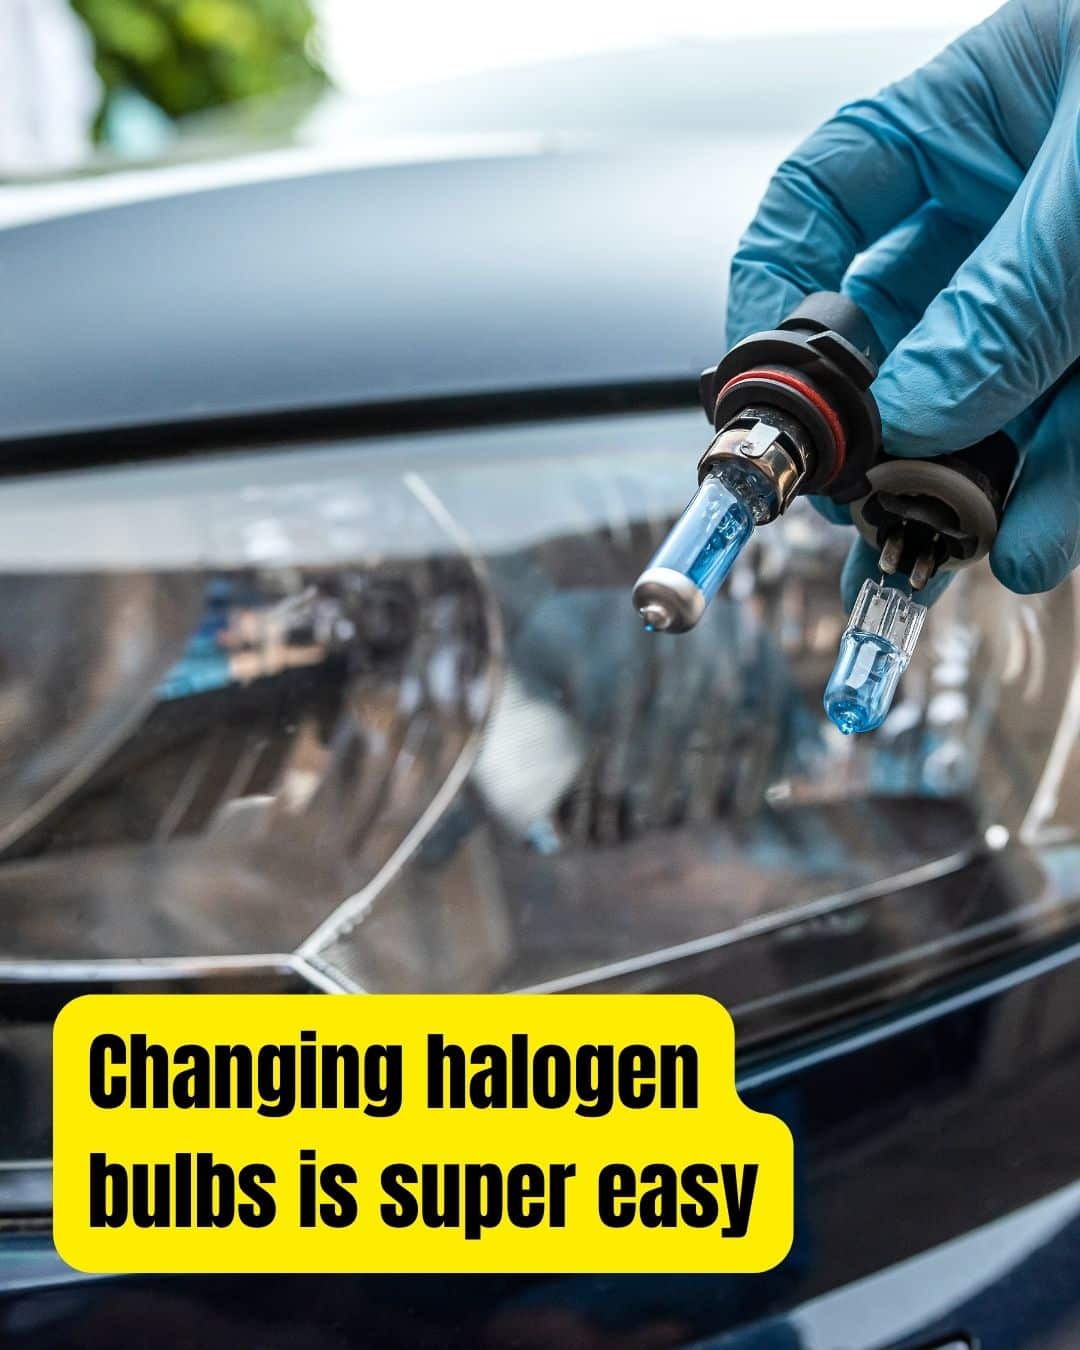
Where I live, we have a TON of deer. Less light means way more chance of hitting one of them. A dark headlight is also a ticket waiting to happen.
Changing a headlight is super easy. Here’s how:
Open your hood, twist out the bulb socket, pull and replace the bulb-avoid touching the glass with your fingers.
Twist the socket back in and test. A single halogen bulb costs under $10, but aligning it right keeps you visible and law‑abiding.
10. Replace Cabin Air Filter
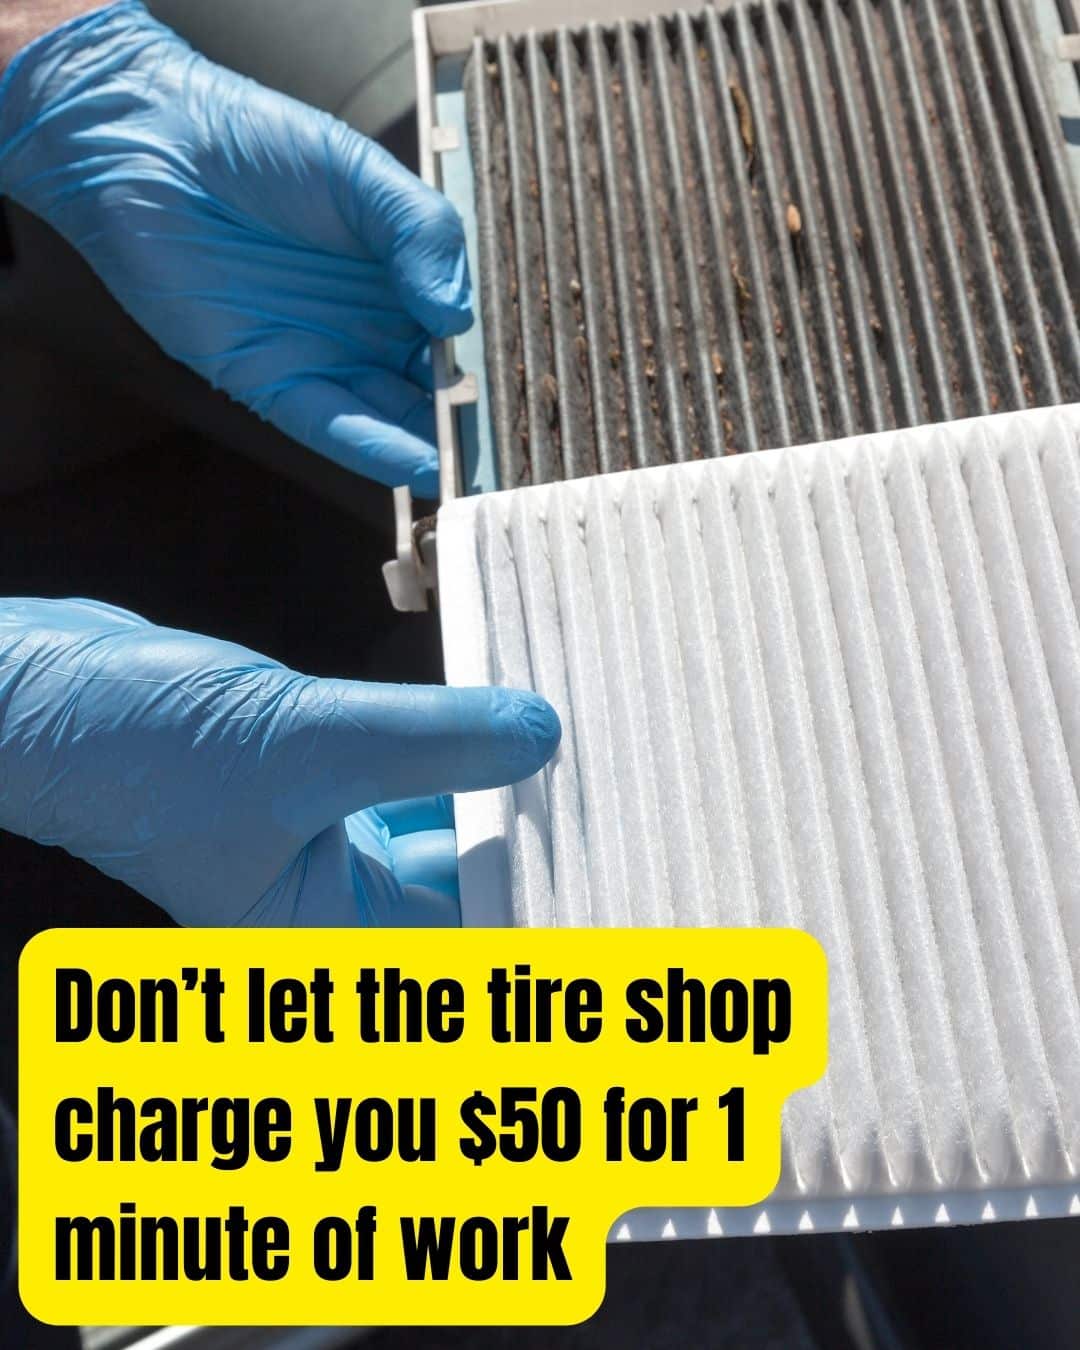
Dirty filters make your HVAC work overtime and can trigger musty odors.
Locate the glove box or under‑hood filter housing, remove the old pleated filter, and pop in the new one.
Fresh air flow improves cabin comfort, reduces pollen buildup, and keeps HVAC motors happy for thousands of miles.
11. Change the Engine Air Filter
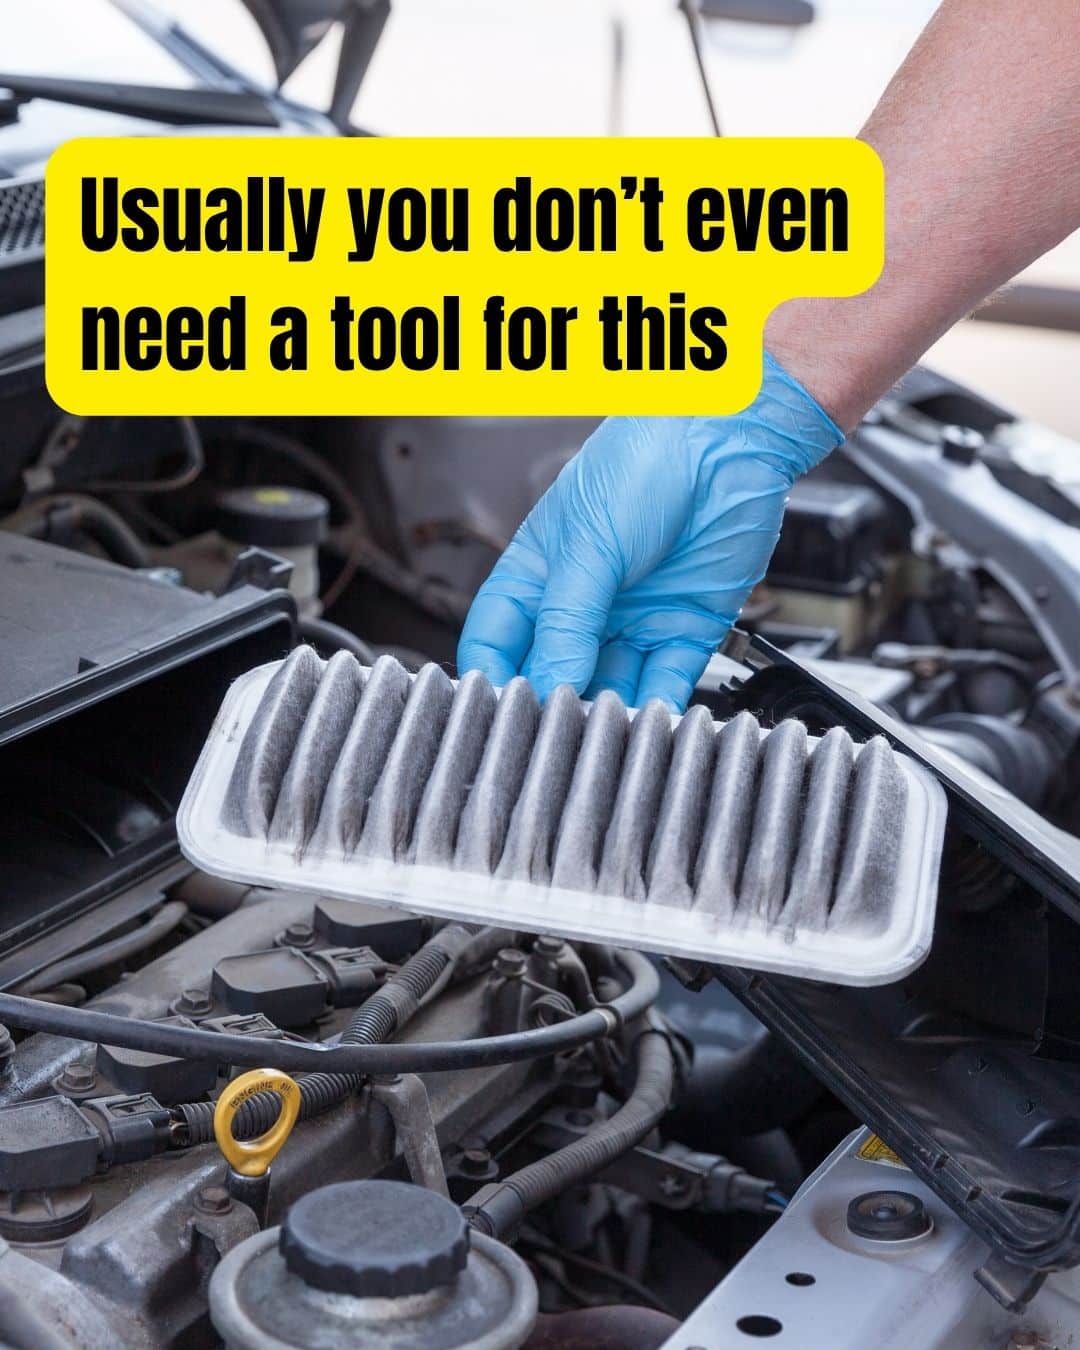
A clogged air filter chokes power and hurts fuel economy.
Here’s how:
Open the filter box, lift out the old paper element, and swap in a clean replacement. It’s a tool‑free job for most cars.
If you can’t find the box, just grab your owner’s manual or hit up YouTube.
If your filter was clogged, expect slightly better mileage and smoother acceleration-plus you’re protecting your engine from abrasive dust and debris.
12. Test Battery Voltage
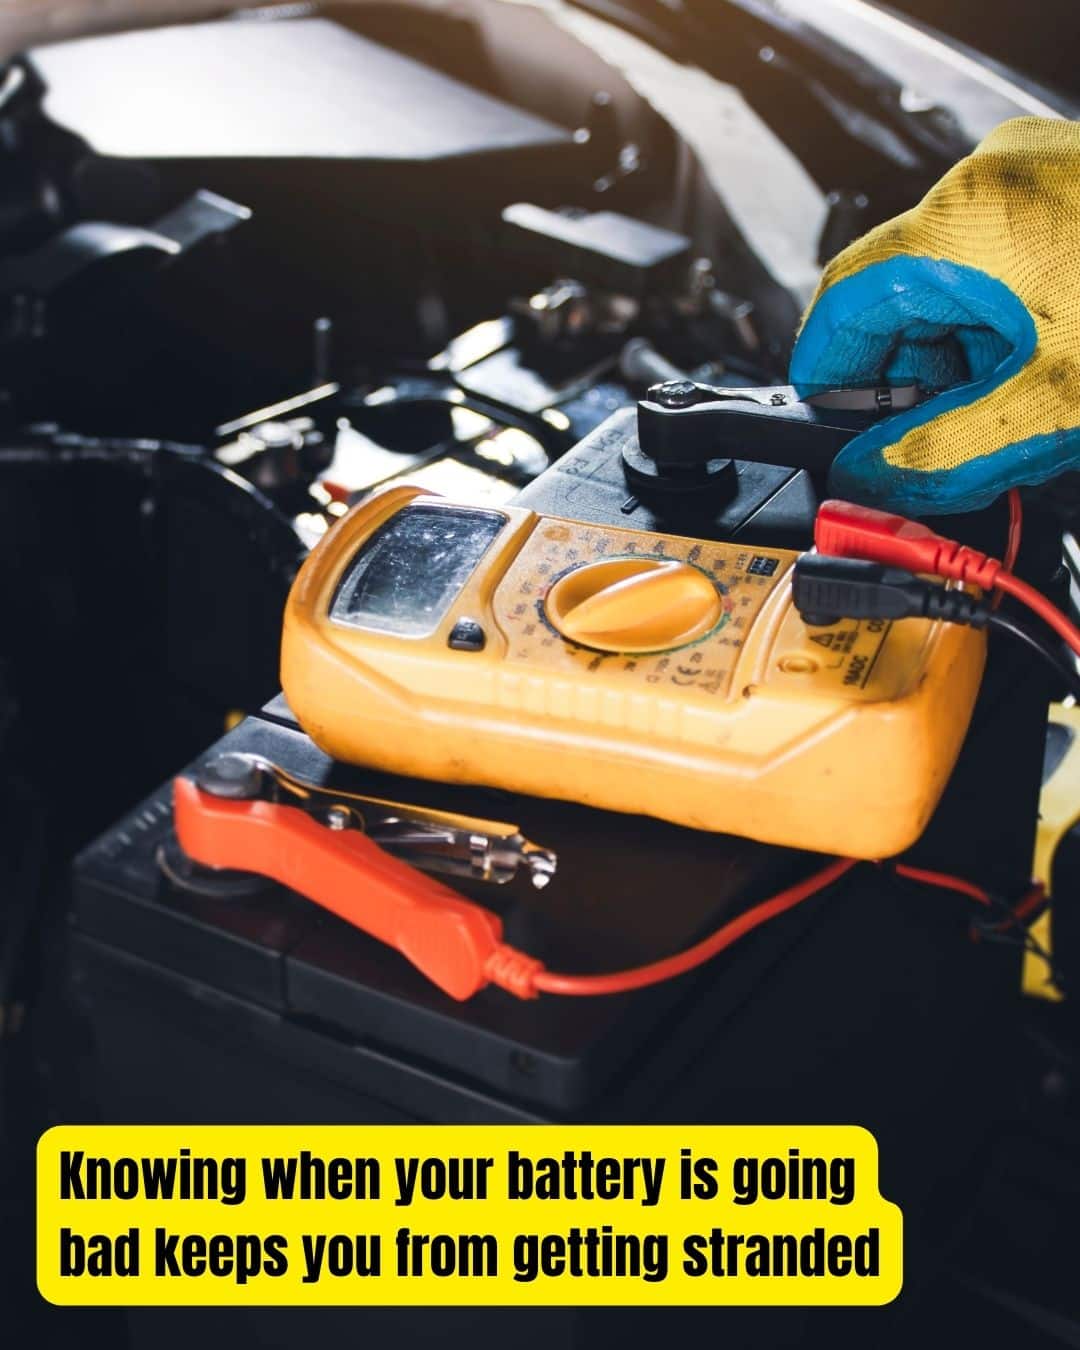
Before a no‑start leaves you stranded, grab a cheap multimeter. With ignition off, touch red to battery positive and black to negative.
12.6 volts or higher means a healthy charge; under 12.2 suggests the battery is weak.
There’s one caveat to that. If the vehicle has been sitting for a few weeks, the battery is going to lose voltage. Test it in the morning, the day after driving it.
Catching a weak battery early lets you recharge or replace it before you’re left with a dead cell on a cold morning.
13. Grease Chassis Fittings
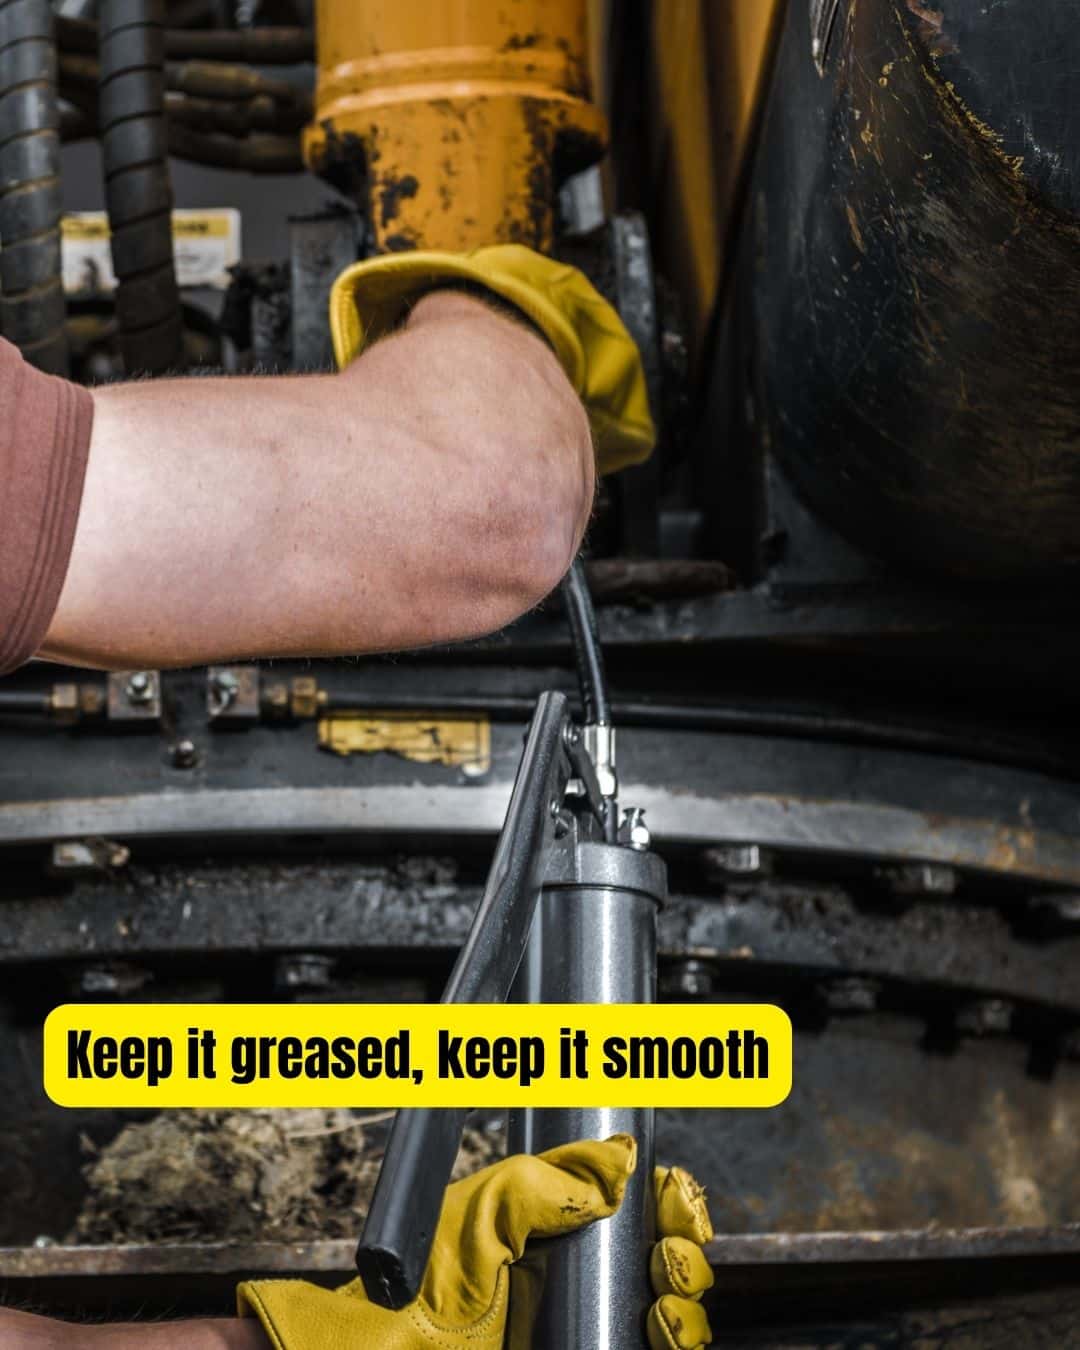
Some older cars still have grease zerks on ball joints and tie‑rods. Pop on a grease gun and pump in fresh lube until you see old grease oozing out.
Clean fittings first and wipe away excess. Regular greasing preserves suspension parts, improves steering feel, and helps you avoid costly replacement of worn joints.
14. Adjust Headlight Aim
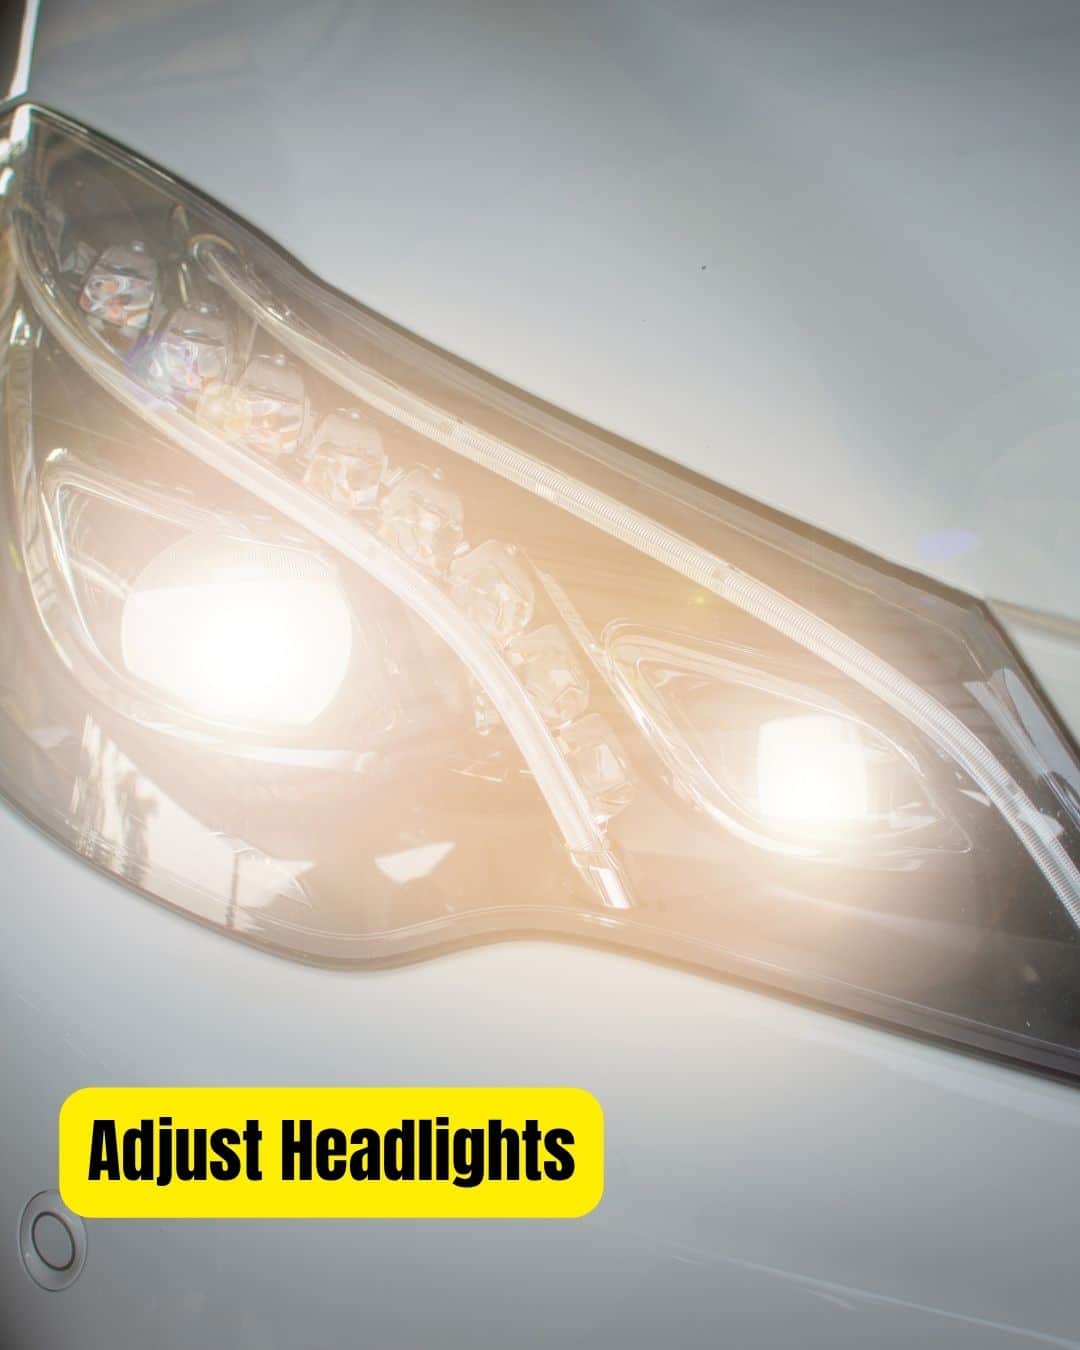
Misaligned headlights blind oncoming drivers and leave dark spots in front of you.
Here’s How:
Park on level ground 25 feet from a wall, mark your lights’ center, then use adjustment screws to line beams up with the marks.
Make sure the vehicle isn’t loaded in the rear, or when you remove the load, the lights will be pointing down.
Proper aim improves nighttime visibility and prevents angry waves from fellow motorists.
15. Change a Flat Tire
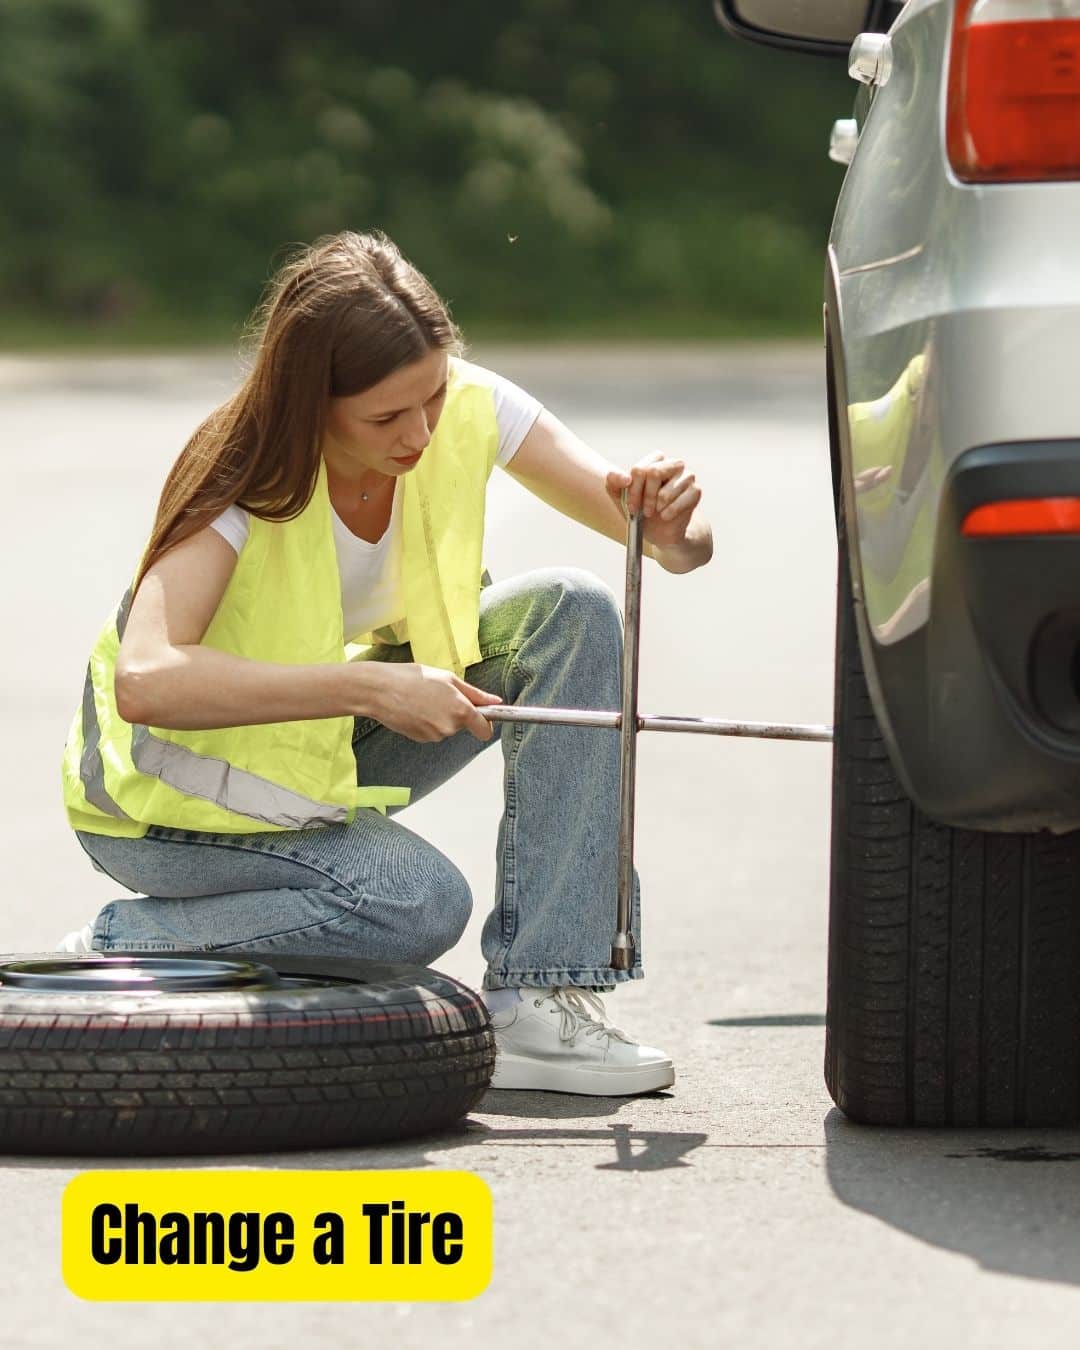
A spare, jack, and lug wrench are your best friends on the shoulder. There really isn’t much to changing a tire.
Here’s how:
Loosen lug nuts first, jack up at the proper lift point, then swap on the spare. Tighten nuts in a star pattern, lower the car, and torque to spec.
Practicing this at home means you’ll breeze through it under highway, no tow truck needed.
Also, once a year, you should really check the tire pressure in your spare. Nothing’s worse than dropping the jack and having a flat spare.